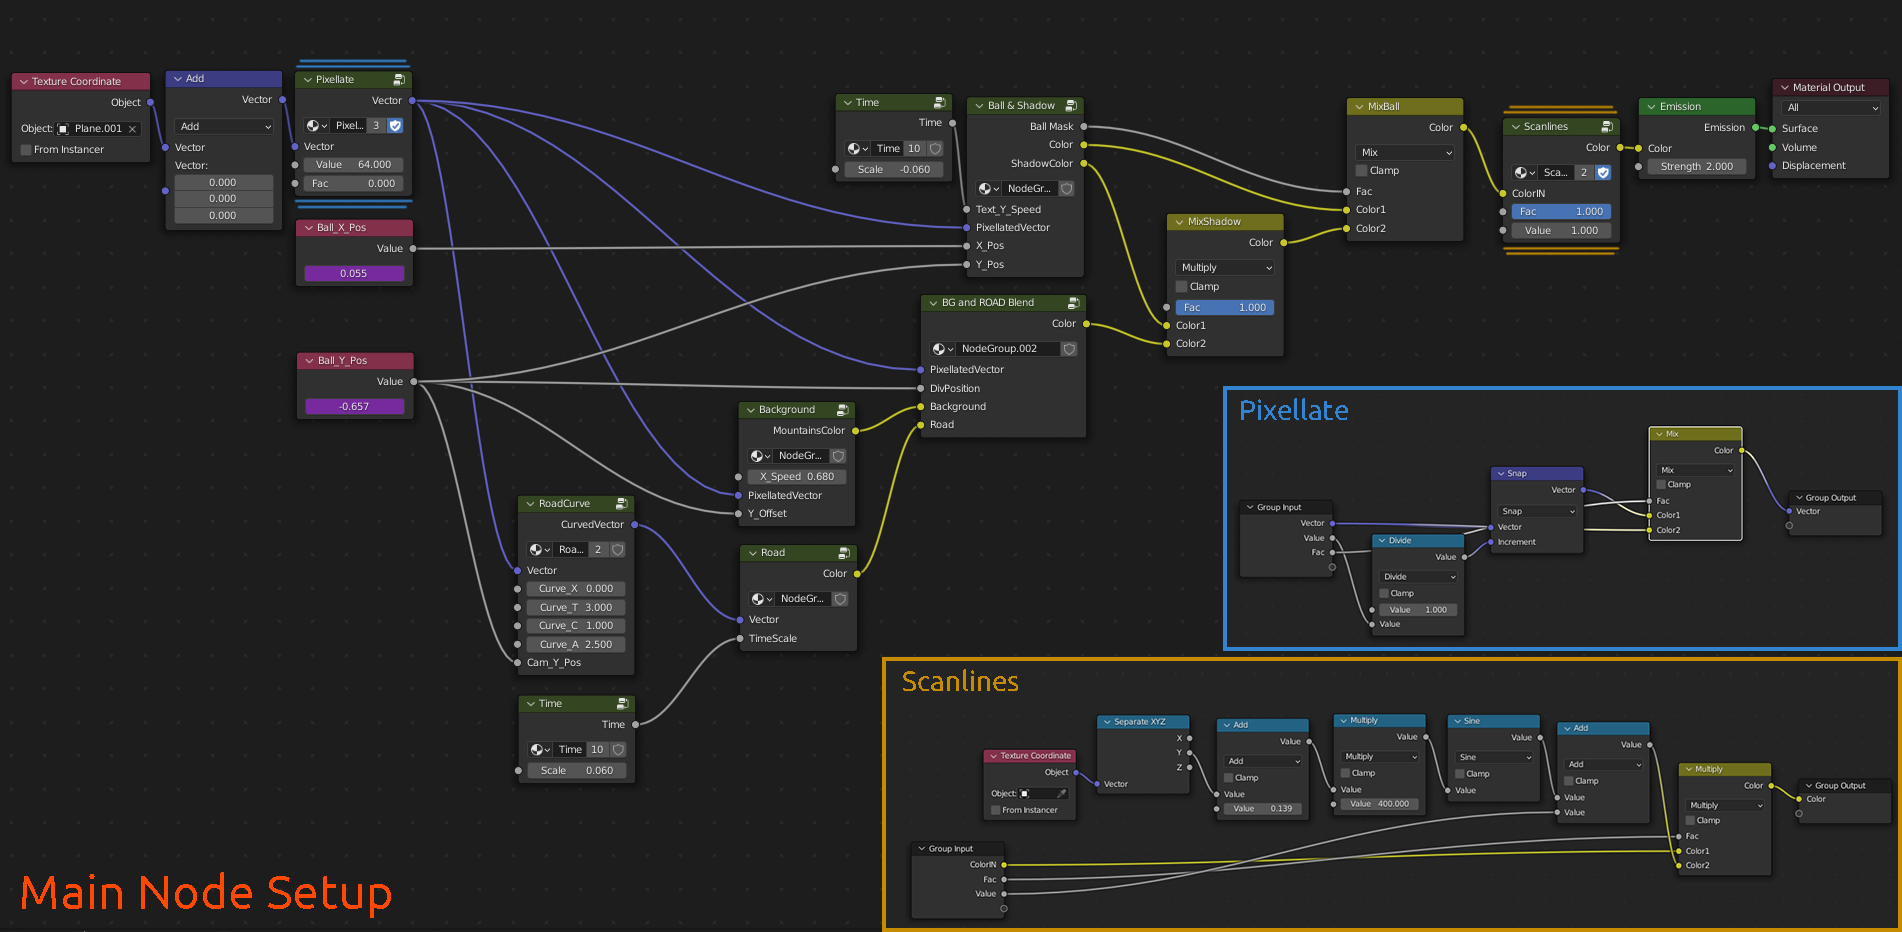
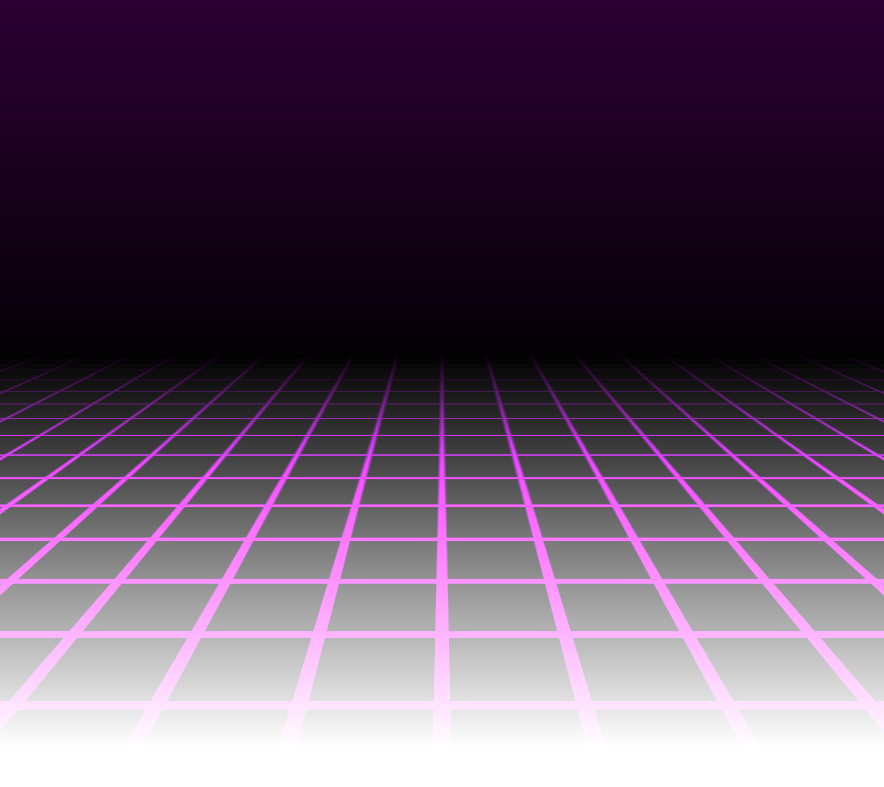
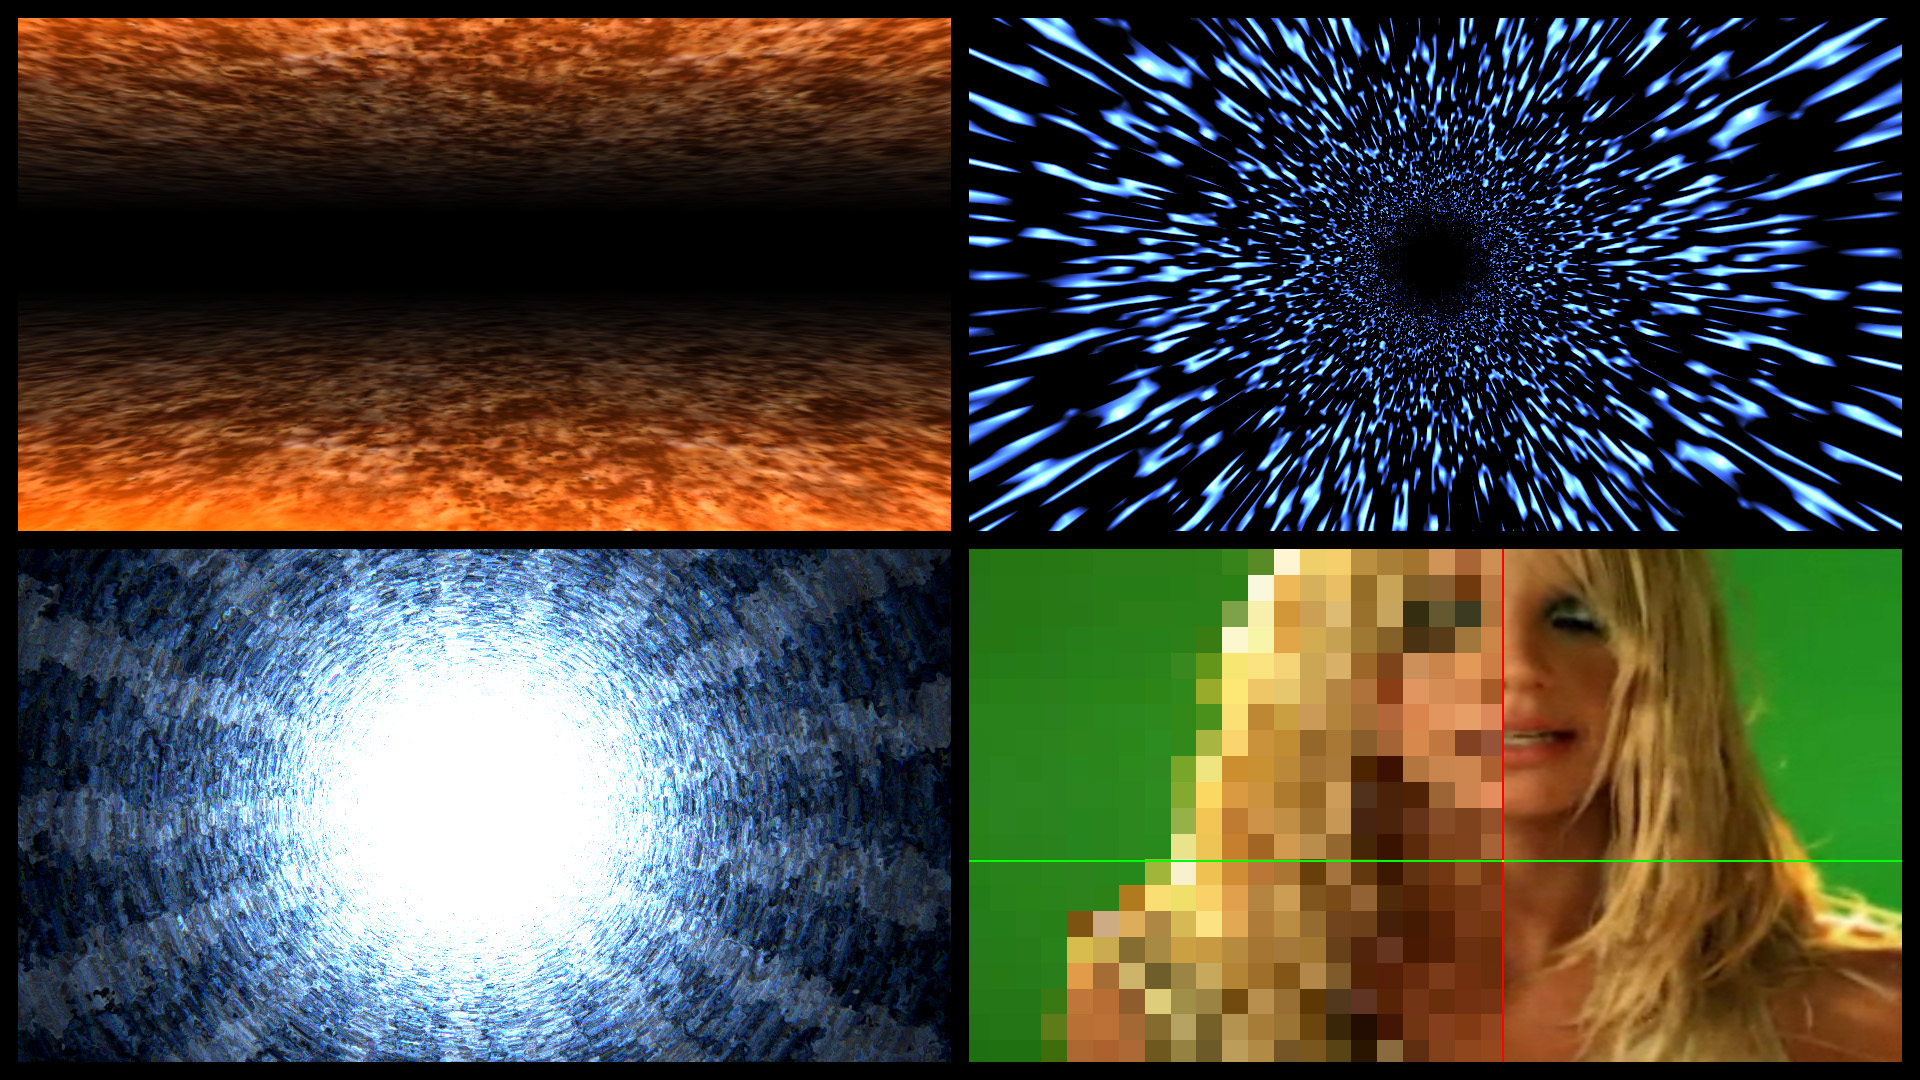
Pseudo 3D Road Shader
A shader-based imitation of an old game-dev trick we mostly used back in the 8-bit era.
Ferhat Tanman
Sr. Technical Artist


...
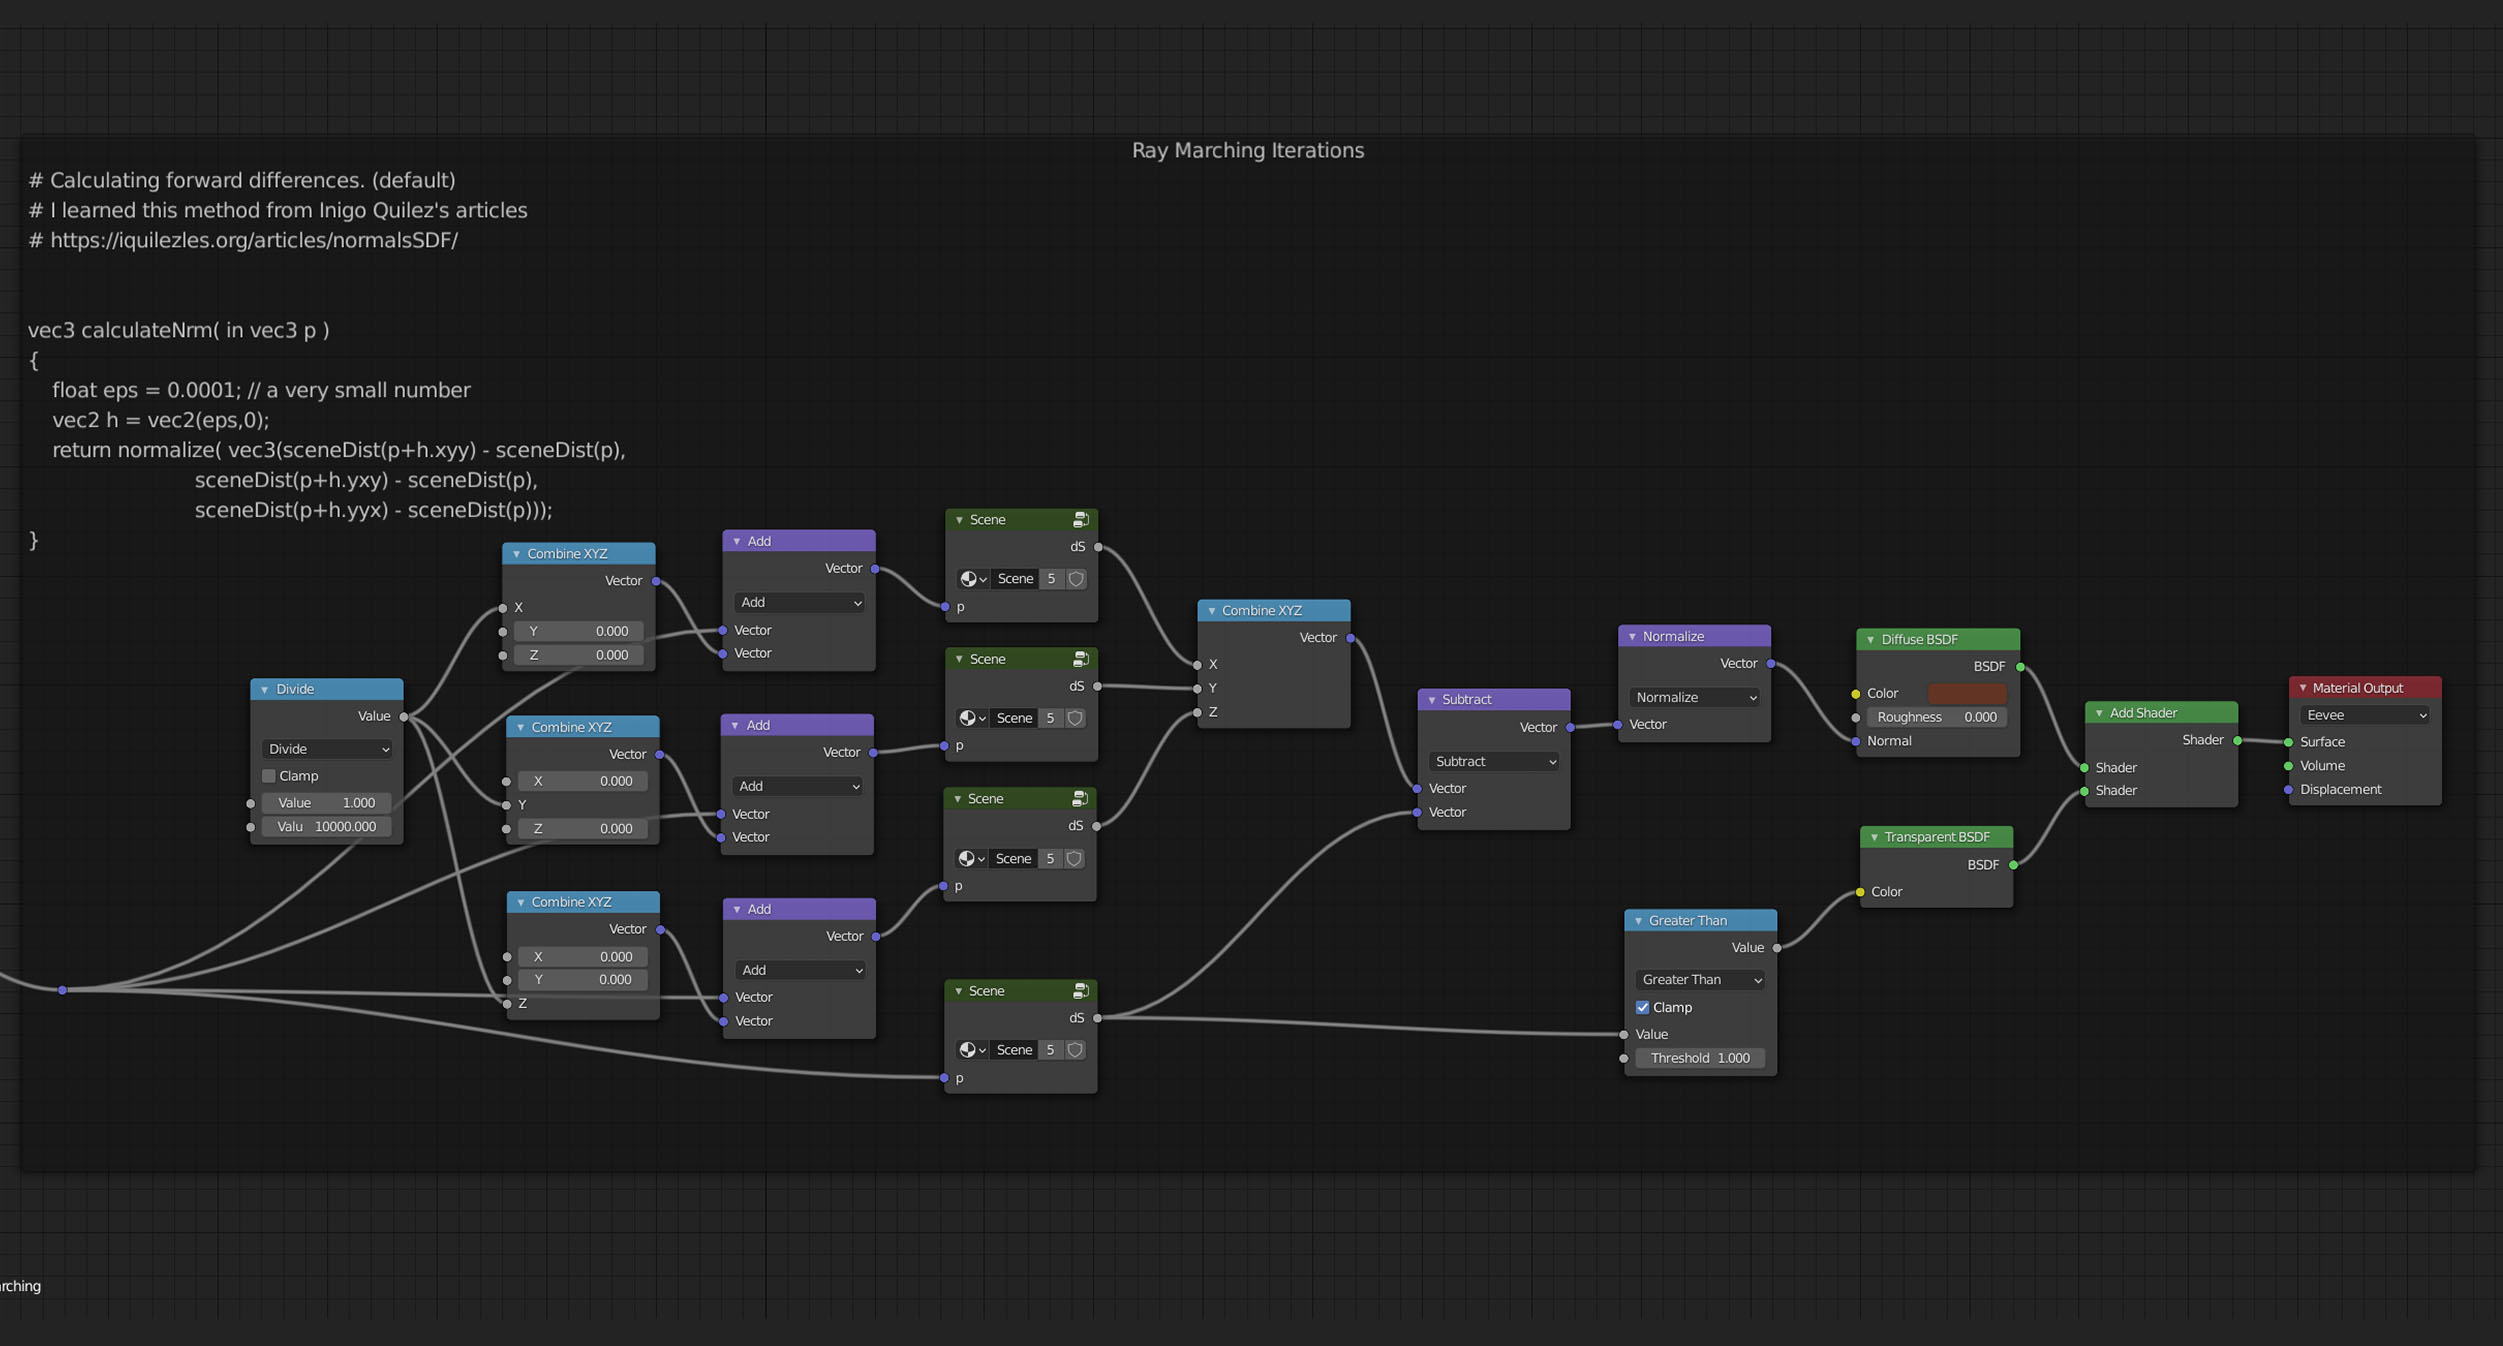
//Normalizing the coordinates.
vec2 uv = (fragCoord-0.5*iResolution.xy)/iResolution.y;
//Uv space transformation.
uv = vec2(uv.x/uv.y, 1.0/uv.y);
...// An imitation of Pseudo 3D Road trick by F3R0 @2020
// Solid color version.
#define TIMESCALE 5.0
#define GRASSCOLOR1 vec3(0.4,0.8,0.2)
#define GRASSCOLOR2 vec3(0.2,0.6,0.0)
#define ROADCOLOR1 vec3(0.5,0.5,0.5)
#define ROADCOLOR2 vec3(0.35,0.35,0.35)
#define CURBSCOLOR1 vec3(1.0,1.0,1.0)
#define CURBSCOLOR2 vec3(0.75,0.0,0.0)
#define LINESCOLOR vec3(0.85,0.85,0.85)
#define PIXELRES 128.0
#define LINEWIDTH 0.03
#define LINEFREQ 0.66
void mainImage( out vec4 fragColor, in vec2 fragCoord )
{
//UV Coordinates
vec2 uv = (fragCoord-0.5*iResolution.xy)/iResolution.y;
//Uncomment to pixelate.
uv = floor(uv*PIXELRES)/PIXELRES;
//Prepare the curve
float curveAmount = (0.5-iMouse.x/iResolution.x)*4.0;
float roadCurve = pow((uv.y+1.0),8.0);
float roadOffset = (0.5-iMouse.x/iResolution.x)*4.0;
//curve the UV
uv = vec2(uv.x+roadCurve*curveAmount,uv.y);
//Pseudo 3D Coordinates
vec2 uvp = vec2(uv.x/uv.y, 1.0/uv.y-iTime*TIMESCALE);
//Horizontal Stripes
float stripes = clamp(round(fract(uvp.y)),0.0,1.0);
float lines = clamp(round(fract(uvp.y*LINEFREQ))*round(1.0-abs(uvp.x)-0.5+LINEWIDTH),0.0,1.0);
//Stripes Colors
vec3 grassStripes = mix(GRASSCOLOR1, GRASSCOLOR2, stripes);
vec3 roadStripes = mix(ROADCOLOR1, ROADCOLOR2, stripes);
vec3 curbStripes = mix(CURBSCOLOR1, CURBSCOLOR2, stripes);
//Road & Curbs width
float roadWidth = 1.3;
float curbsWidth = roadWidth + 0.3;
float linesWidth = 0.1;
//Road Shapes
float roadShape = clamp(ceil(abs(uvp.x) - roadWidth),0.0,1.0);
float grassShape = clamp(ceil(abs(uvp.x) - curbsWidth),0.0,1.0);
//Render ground elements
vec3 roadColor = mix(roadStripes, curbStripes, roadShape);
vec3 roadLines = mix(roadColor, LINESCOLOR, lines);
vec3 groundColor = mix(roadLines, grassStripes, grassShape);
//Split sky & ground elements
if(uv.y < -0.09)
{
fragColor = vec4(groundColor,1);
}
else
{
uv = round(uv*16.0)/16.0;
vec3 skyCol = mix(vec3(0.5,0.7, 0.7), vec3(0.0,0.4,0.8), uv.y*3.0);
fragColor = vec4(skyCol,1.0);
}
}

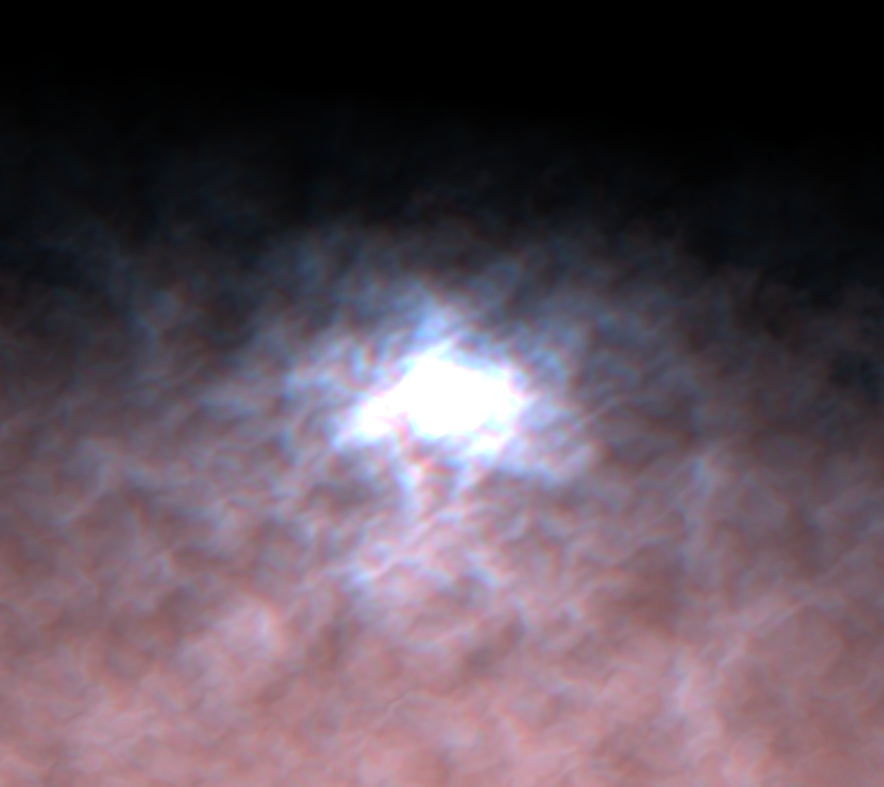
//Atmospheric Scattering effect by F3R0 @2021

    const vec3 skyColor = vec3(0.2,0.3,0.5);
    const vec3 sunColor = vec3(0.75,0.3,0.05);

    void mainImage( out vec4 fragColor, in vec2 fragCoord )
    {

      vec2 uv = (fragCoord.xy-0.5*iResolution.xy) / iResolution.y;

        uv = vec2(uv.x, uv.y+0.5);

        vec2 sunPos = vec2(0.0,(0.8+sin(iTime))/2.5);

        float sun = 1.0-clamp(pow(1.0/length(uv - sunPos) * 0.12, 3.0),0.0,1.0);

        float sky = clamp(max(1.0 - (sunPos.y/2.0 + sunPos.y) * sun,0.0),0.0,1.0);

        sky += pow(1.0-uv.y,12.0)/5.0;

        //Uncomment to remove the blue horizon line.
        //sky = clamp(sky,0.0,1.0);

        fragColor = vec4(mix(skyColor*2., sunColor , sky),1.0);

        fragColor *= ((1.-uv.y) + pow(sky,8.) * sunPos.y * 20.);

    }


...

//Normalizing the coordinates.
vec2 uv = (fragCoord-0.5*iResolution.xy)/iResolution.y;

//Uv space transformation.
uv = vec2(uv.x/uv.y, 1.0/uv.y);

...// An imitation of Pseudo 3D Road trick by F3R0 @2020
// Solid color version.
#define TIMESCALE 5.0
#define GRASSCOLOR1 vec3(0.4,0.8,0.2)
#define GRASSCOLOR2 vec3(0.2,0.6,0.0)
#define ROADCOLOR1 vec3(0.5,0.5,0.5)
#define ROADCOLOR2 vec3(0.35,0.35,0.35)
#define CURBSCOLOR1 vec3(1.0,1.0,1.0)
#define CURBSCOLOR2 vec3(0.75,0.0,0.0)
#define LINESCOLOR vec3(0.85,0.85,0.85)
#define PIXELRES 128.0
#define LINEWIDTH 0.03
#define LINEFREQ 0.66
void mainImage( out vec4 fragColor, in vec2 fragCoord )
{
//UV Coordinates
vec2 uv = (fragCoord-0.5*iResolution.xy)/iResolution.y;
//Uncomment to pixelate.
uv = floor(uv*PIXELRES)/PIXELRES;
//Prepare the curve
float curveAmount = (0.5-iMouse.x/iResolution.x)*4.0;
float roadCurve = pow((uv.y+1.0),8.0);
float roadOffset = (0.5-iMouse.x/iResolution.x)*4.0;
//curve the UV
uv = vec2(uv.x+roadCurve*curveAmount,uv.y);
//Pseudo 3D Coordinates
vec2 uvp = vec2(uv.x/uv.y, 1.0/uv.y-iTime*TIMESCALE);
//Horizontal Stripes
float stripes = clamp(round(fract(uvp.y)),0.0,1.0);
float lines = clamp(round(fract(uvp.y*LINEFREQ))*round(1.0-abs(uvp.x)-0.5+LINEWIDTH),0.0,1.0);
//Stripes Colors
vec3 grassStripes = mix(GRASSCOLOR1, GRASSCOLOR2, stripes);
vec3 roadStripes = mix(ROADCOLOR1, ROADCOLOR2, stripes);
vec3 curbStripes = mix(CURBSCOLOR1, CURBSCOLOR2, stripes);
//Road & Curbs width
float roadWidth = 1.3;
float curbsWidth = roadWidth + 0.3;
float linesWidth = 0.1;
//Road Shapes
float roadShape = clamp(ceil(abs(uvp.x) - roadWidth),0.0,1.0);
float grassShape = clamp(ceil(abs(uvp.x) - curbsWidth),0.0,1.0);
//Render ground elements
vec3 roadColor = mix(roadStripes, curbStripes, roadShape);
vec3 roadLines = mix(roadColor, LINESCOLOR, lines);
vec3 groundColor = mix(roadLines, grassStripes, grassShape);
//Split sky & ground elements
if(uv.y < -0.09)
{
fragColor = vec4(groundColor,1);
}
else
{
uv = round(uv*16.0)/16.0;
vec3 skyCol = mix(vec3(0.5,0.7, 0.7), vec3(0.0,0.4,0.8), uv.y*3.0);
fragColor = vec4(skyCol,1.0);
}
}


//Atmospheric Scattering effect by F3R0 @2021
const vec3 skyColor = vec3(0.2,0.3,0.5);
const vec3 sunColor = vec3(0.75,0.3,0.05);
void mainImage( out vec4 fragColor, in vec2 fragCoord )
{
vec2 uv = (fragCoord.xy-0.5*iResolution.xy) / iResolution.y;
uv = vec2(uv.x, uv.y+0.5);
vec2 sunPos = vec2(0.0,(0.8+sin(iTime))/2.5);
float sun = 1.0-clamp(pow(1.0/length(uv - sunPos) * 0.12, 3.0),0.0,1.0);
float sky = clamp(max(1.0 - (sunPos.y/2.0 + sunPos.y) * sun,0.0),0.0,1.0);
sky += pow(1.0-uv.y,12.0)/5.0;
//Uncomment to remove the blue horizon line.
//sky = clamp(sky,0.0,1.0);
fragColor = vec4(mix(skyColor*2., sunColor , sky),1.0);
fragColor *= ((1.-uv.y) + pow(sky,8.) * sunPos.y * 20.);
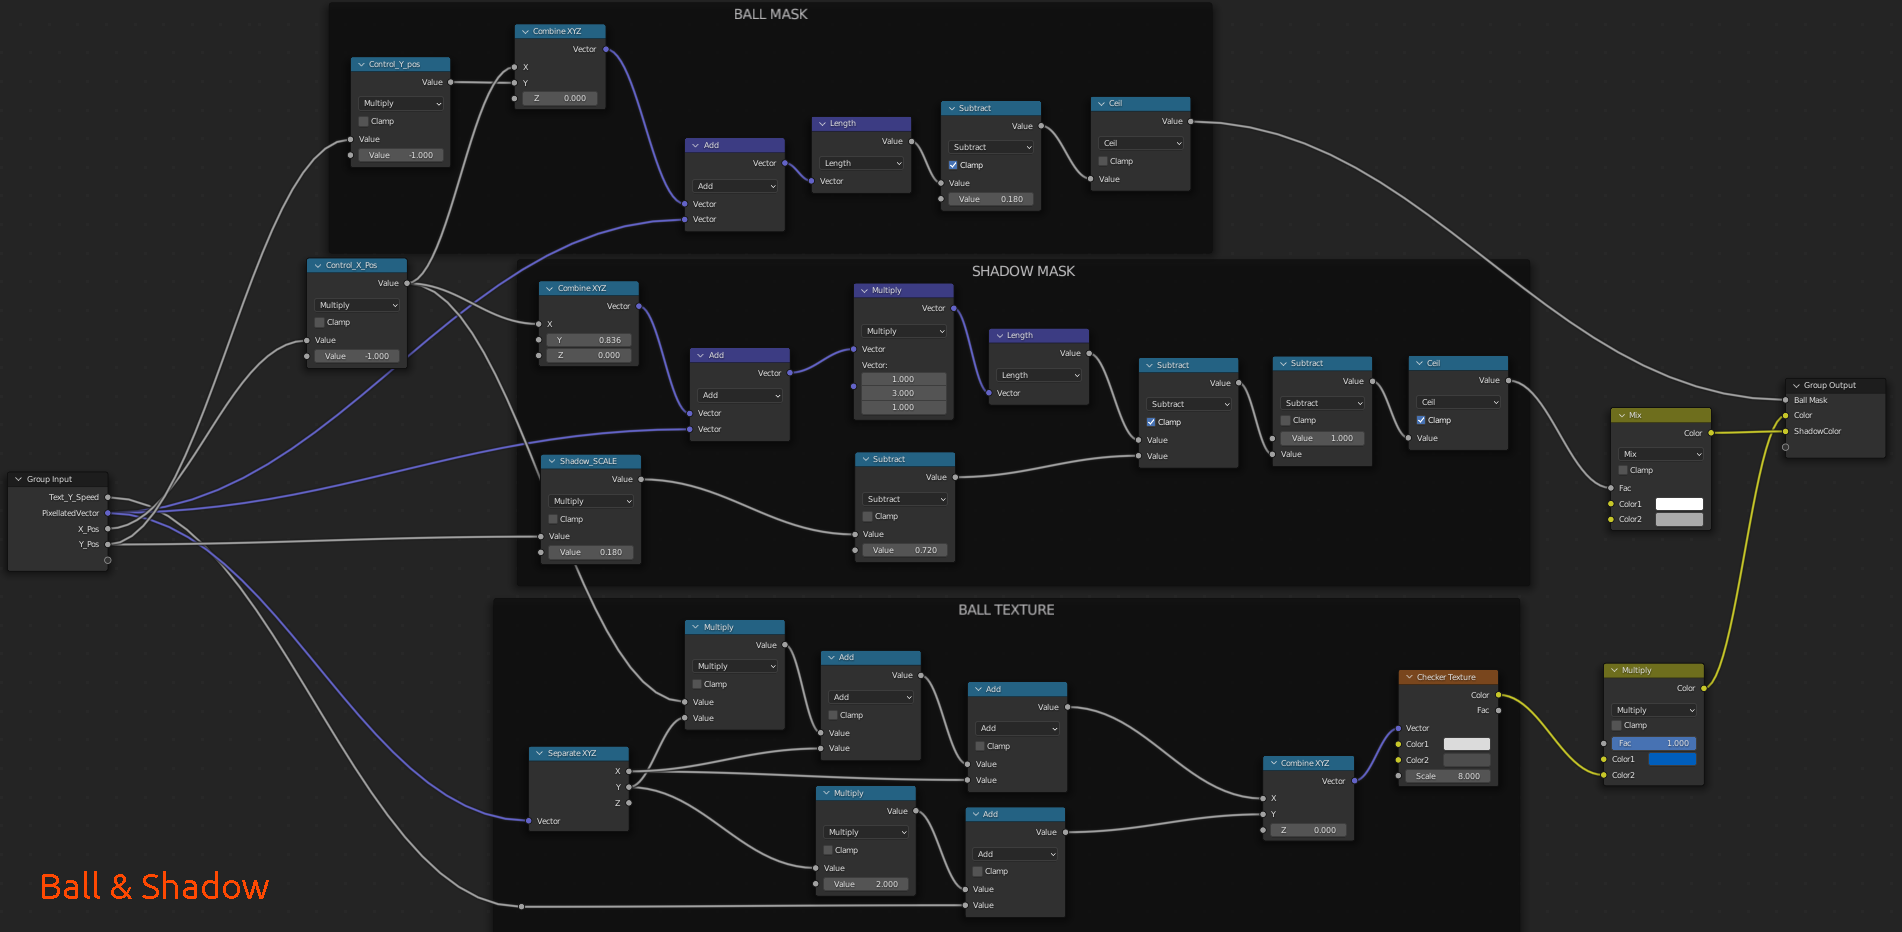
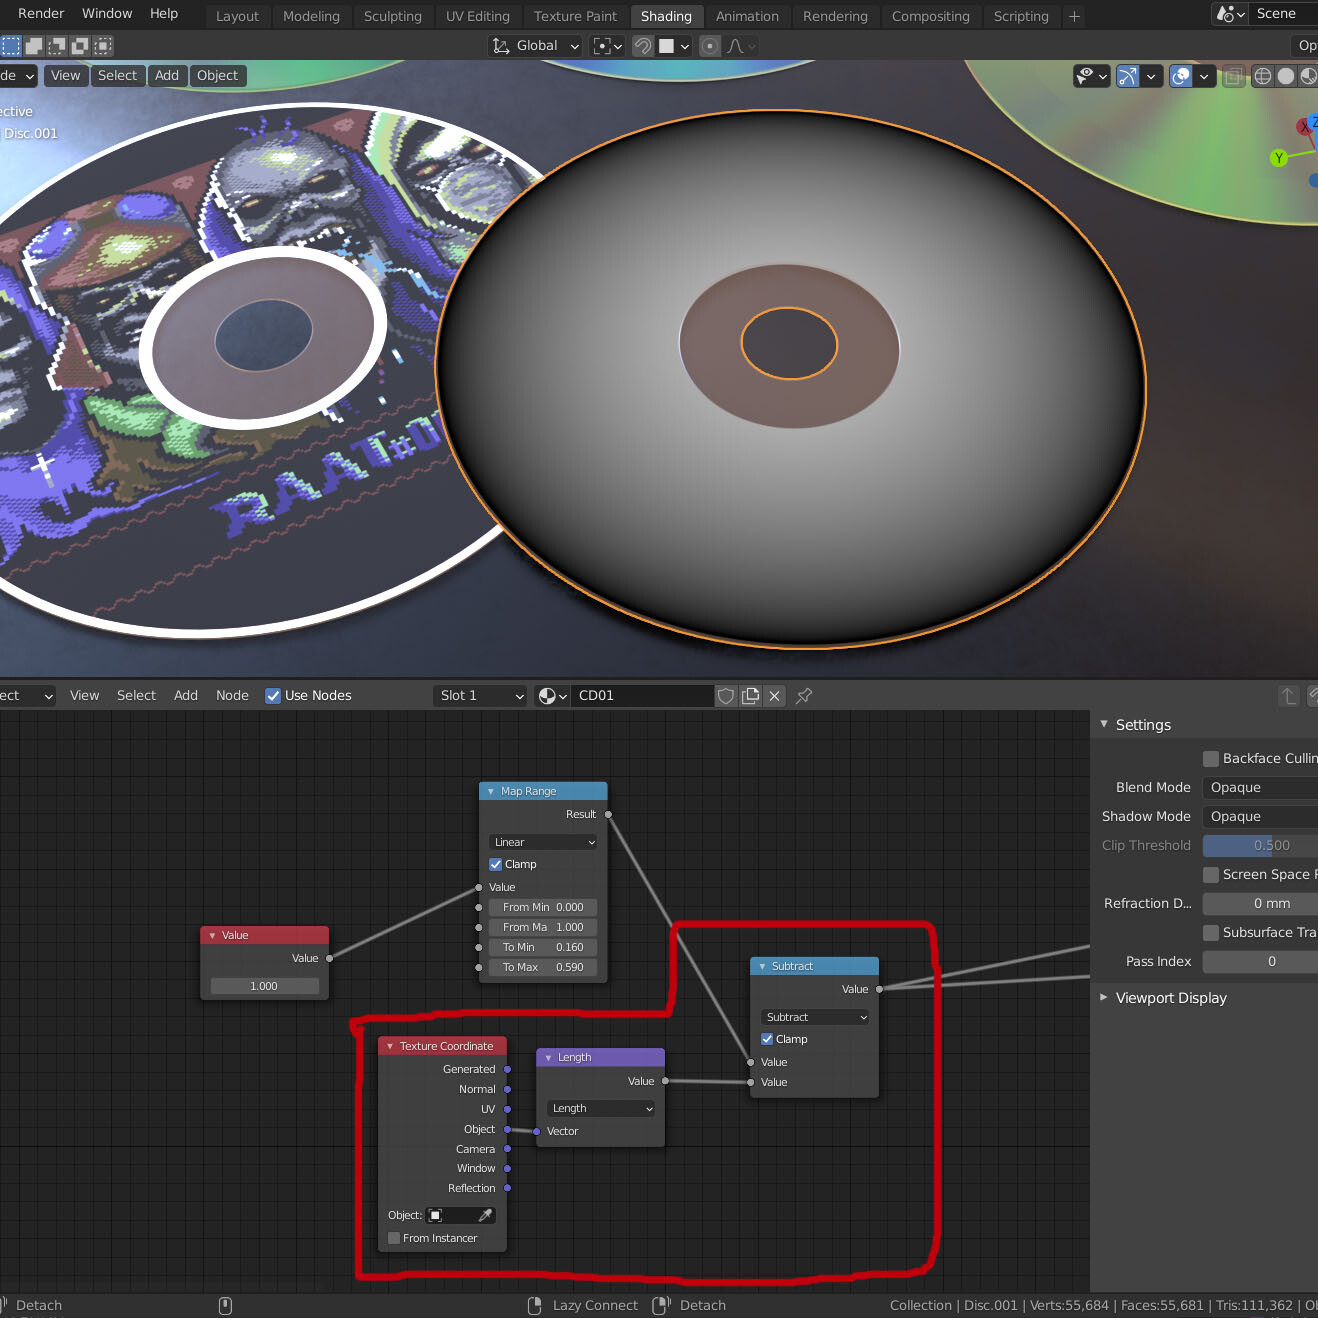
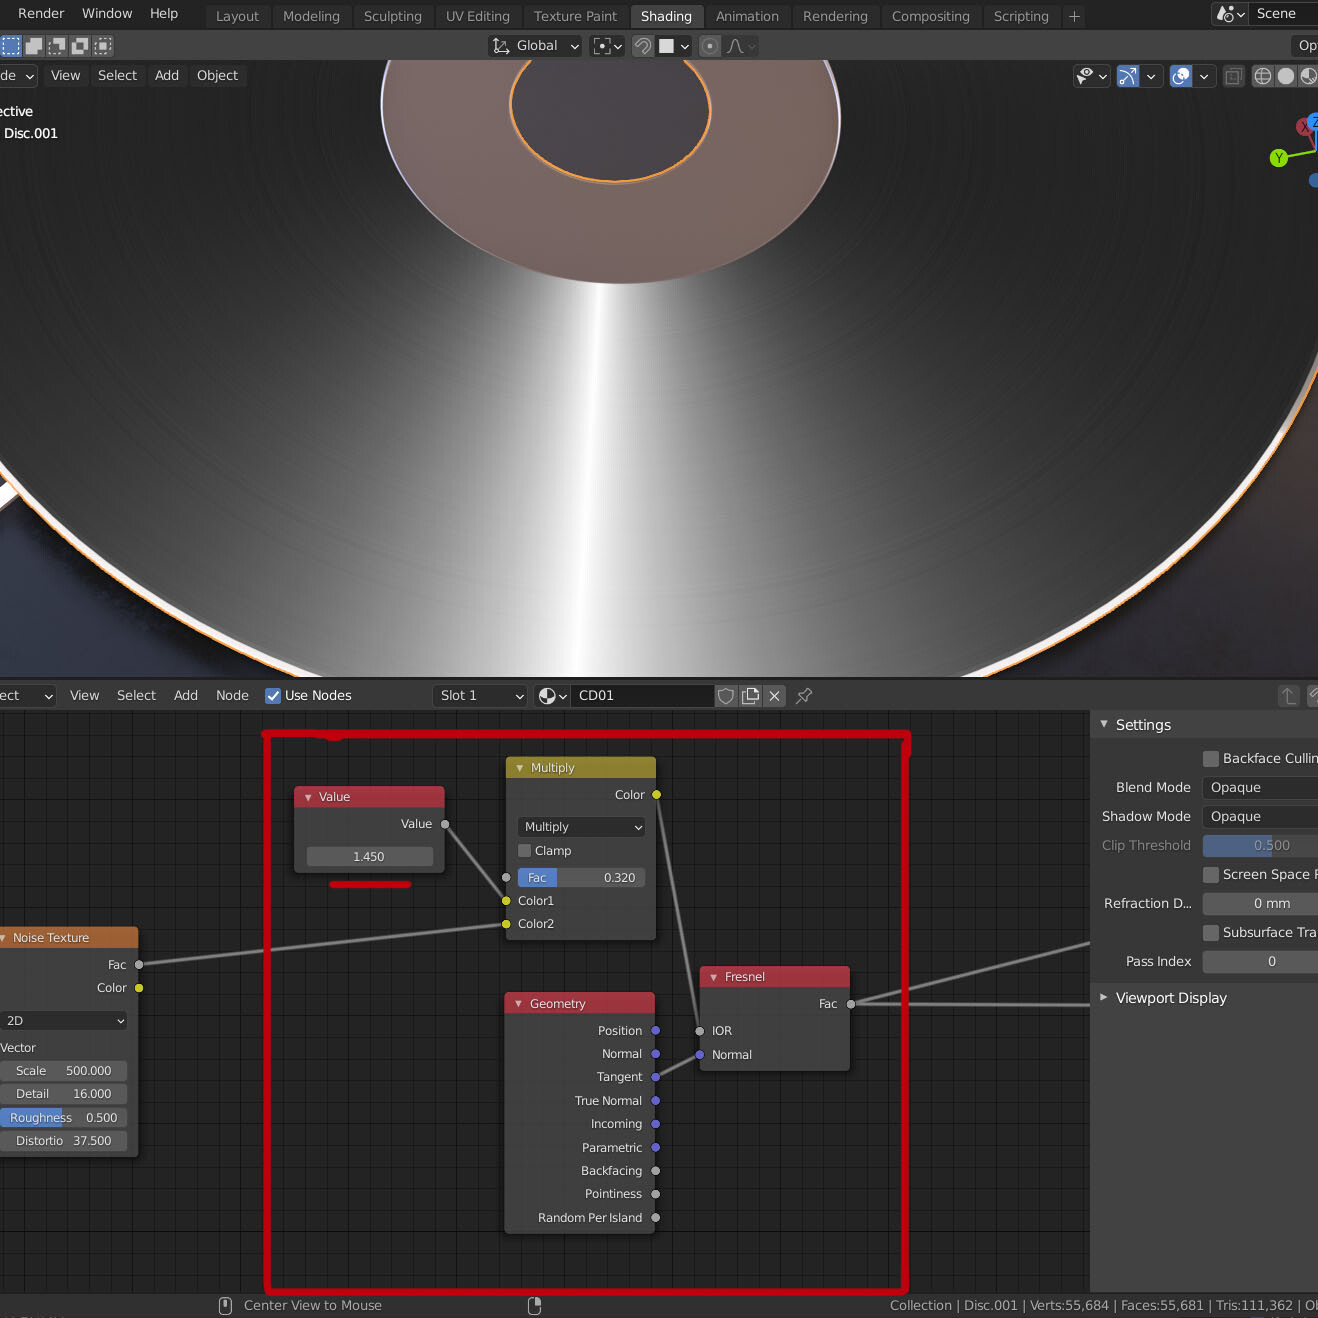
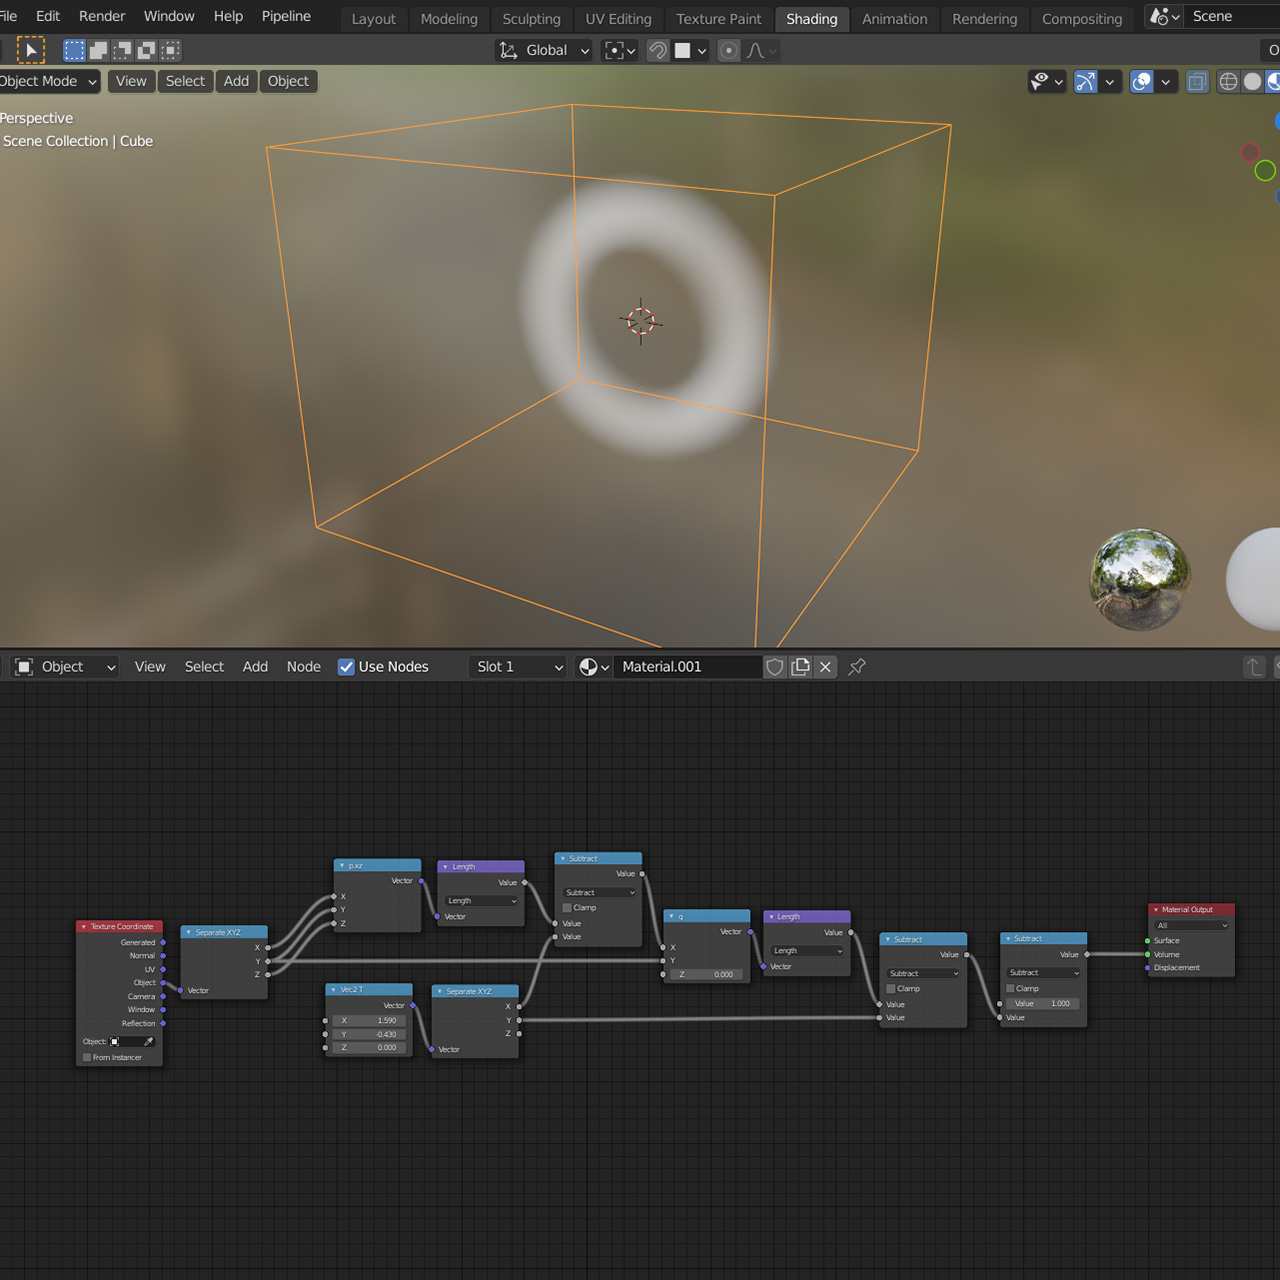
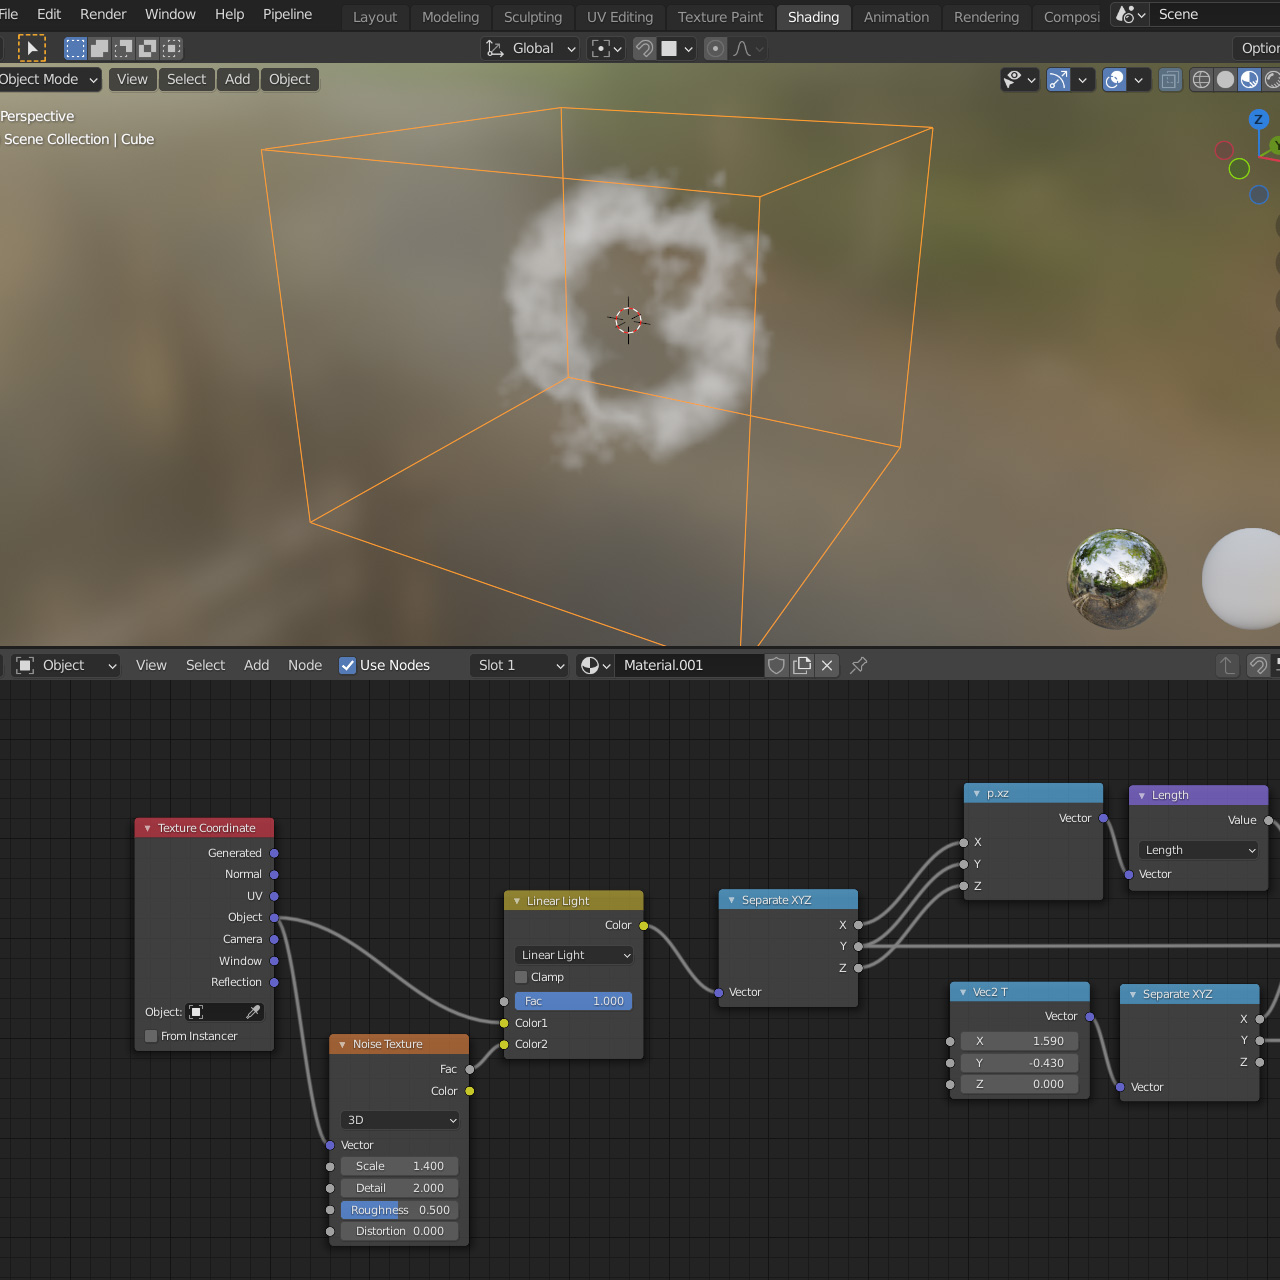
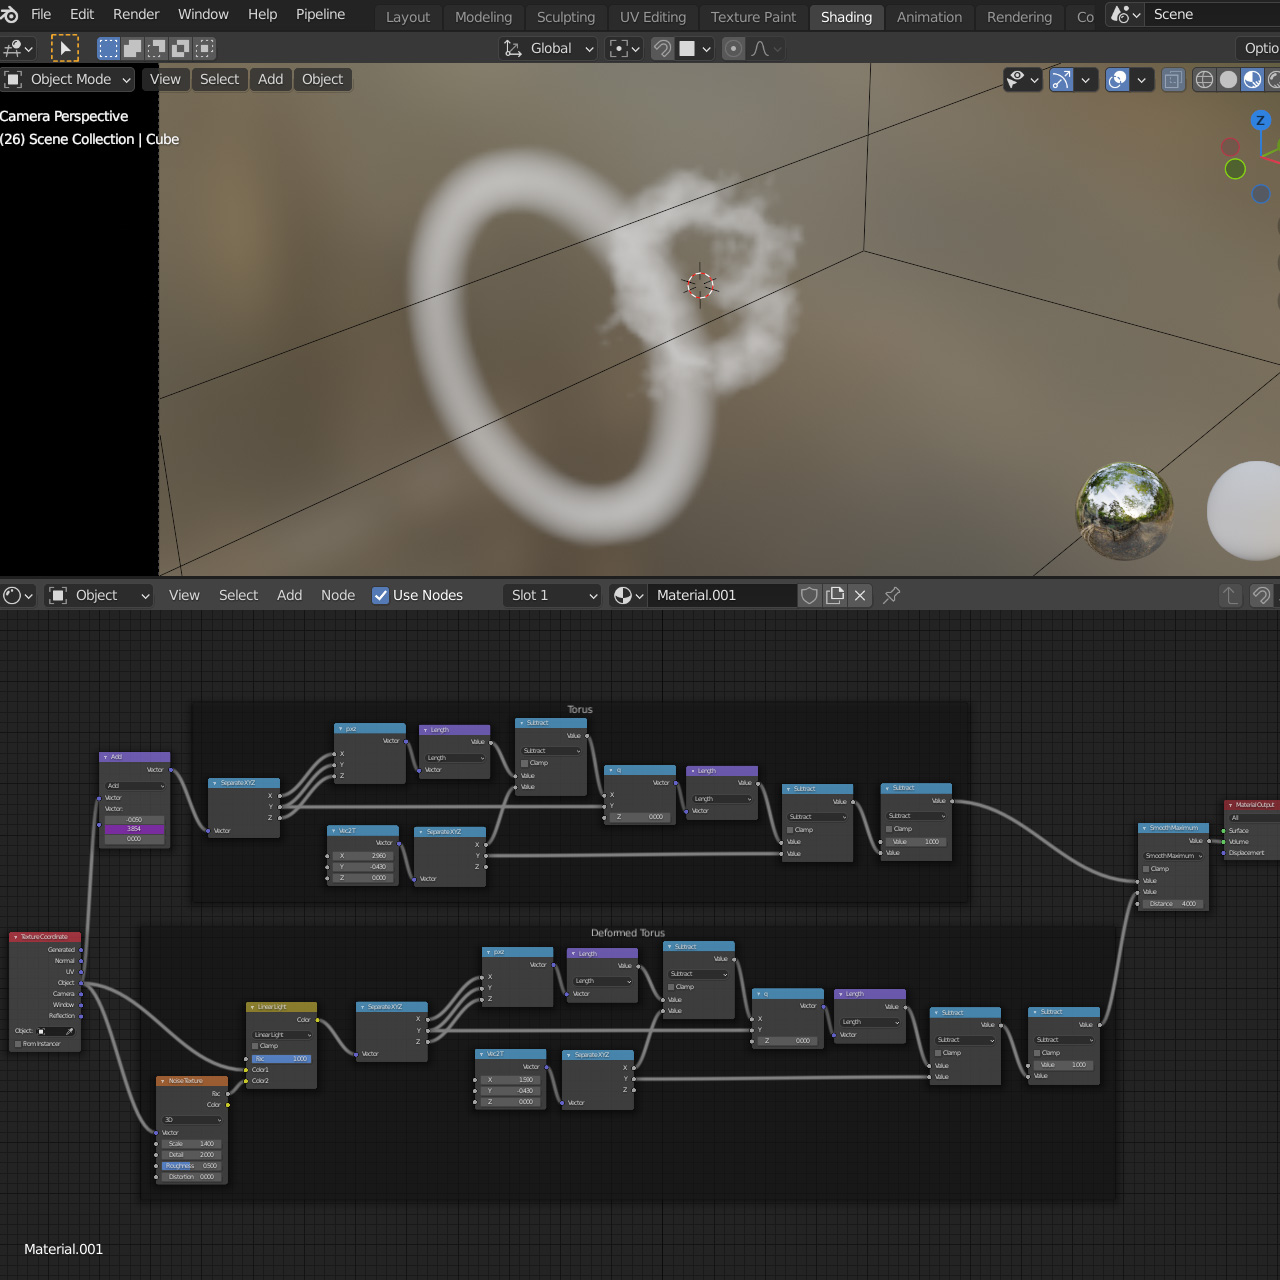
}float sdTorus( vec3 p, vec2 t )
{
vec2 q = vec2(length(p.xz)-t.x,p.y);
return length(q)-t.y;
}


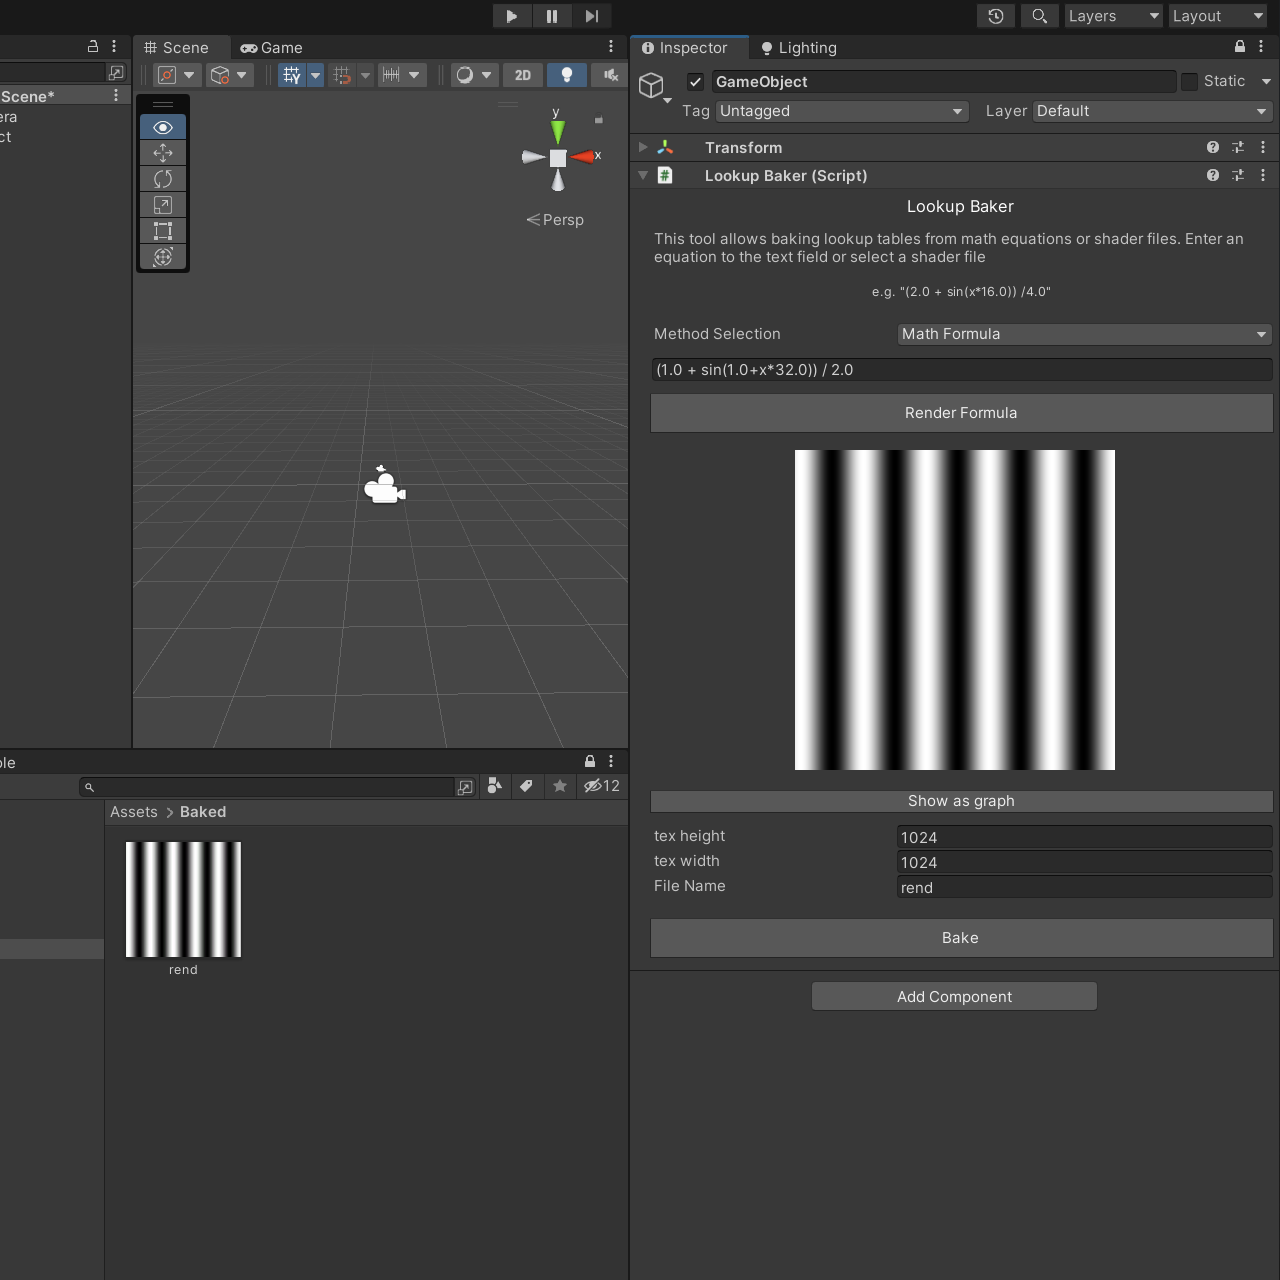
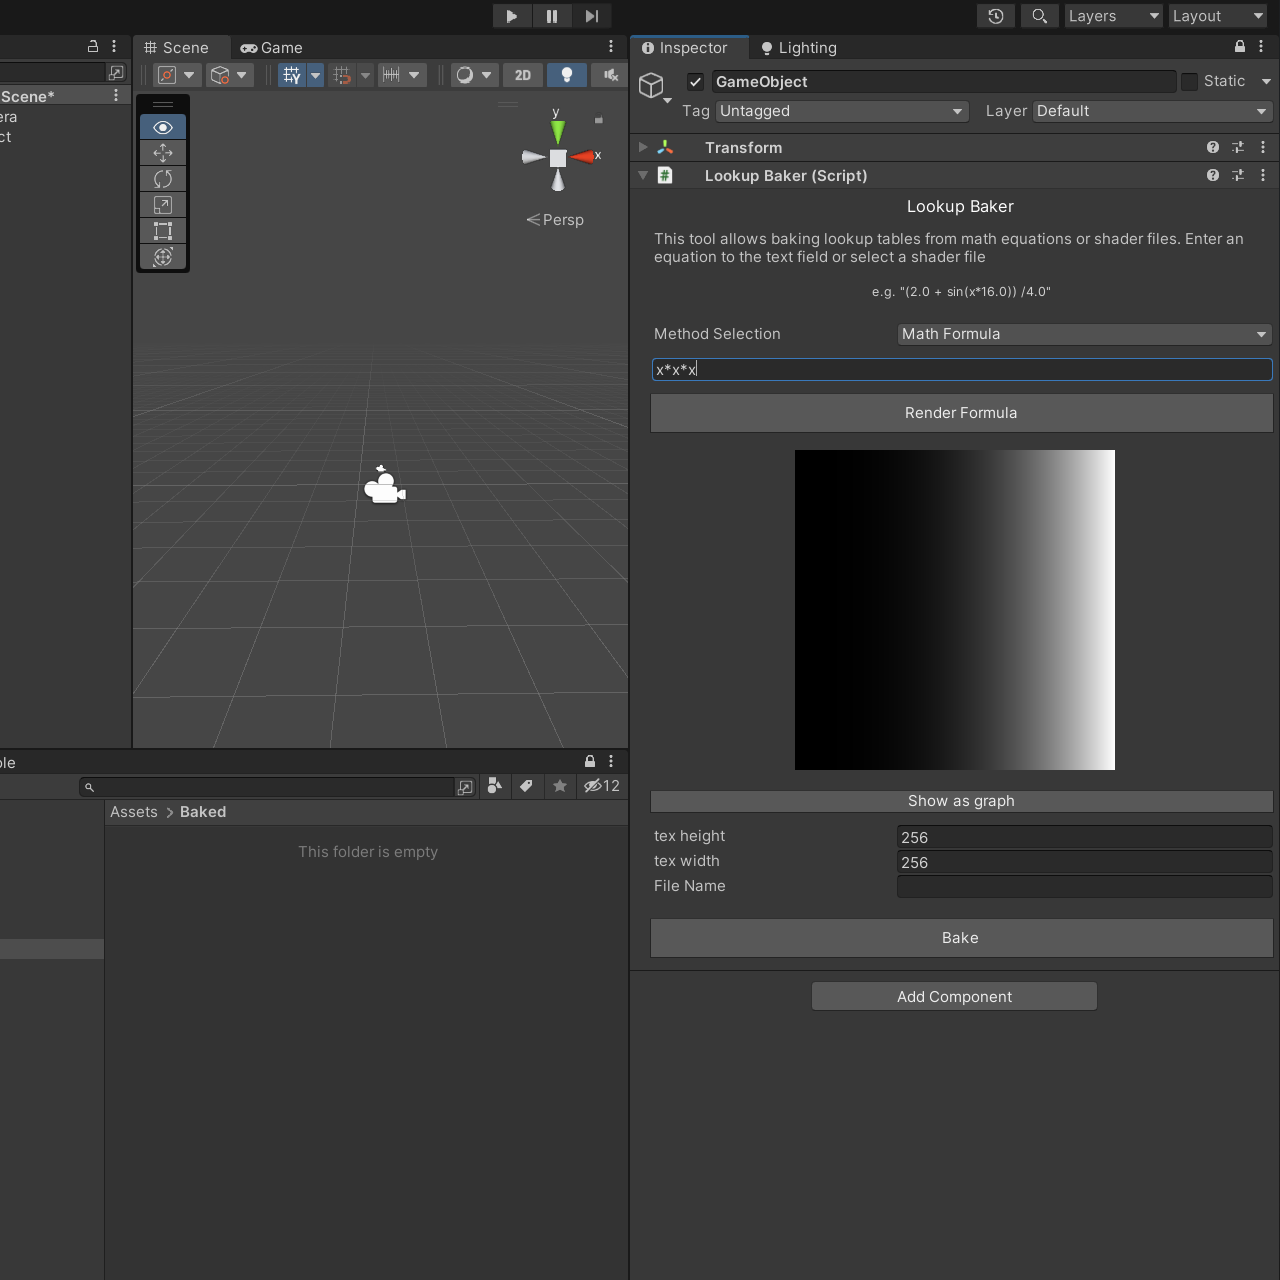
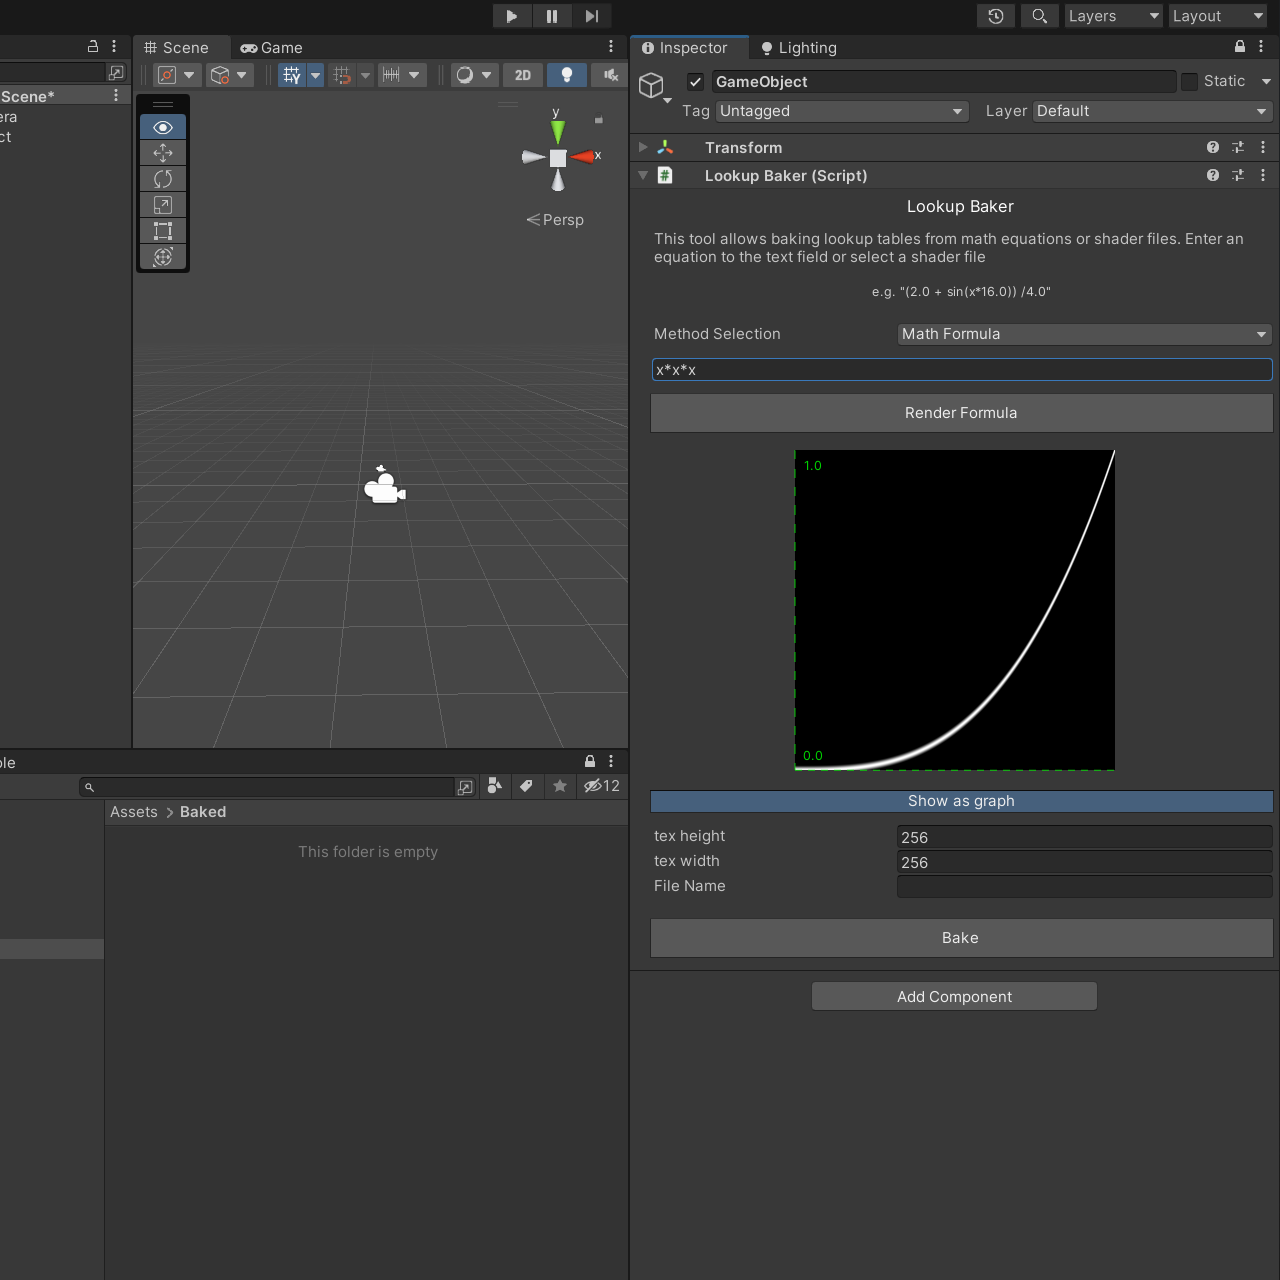
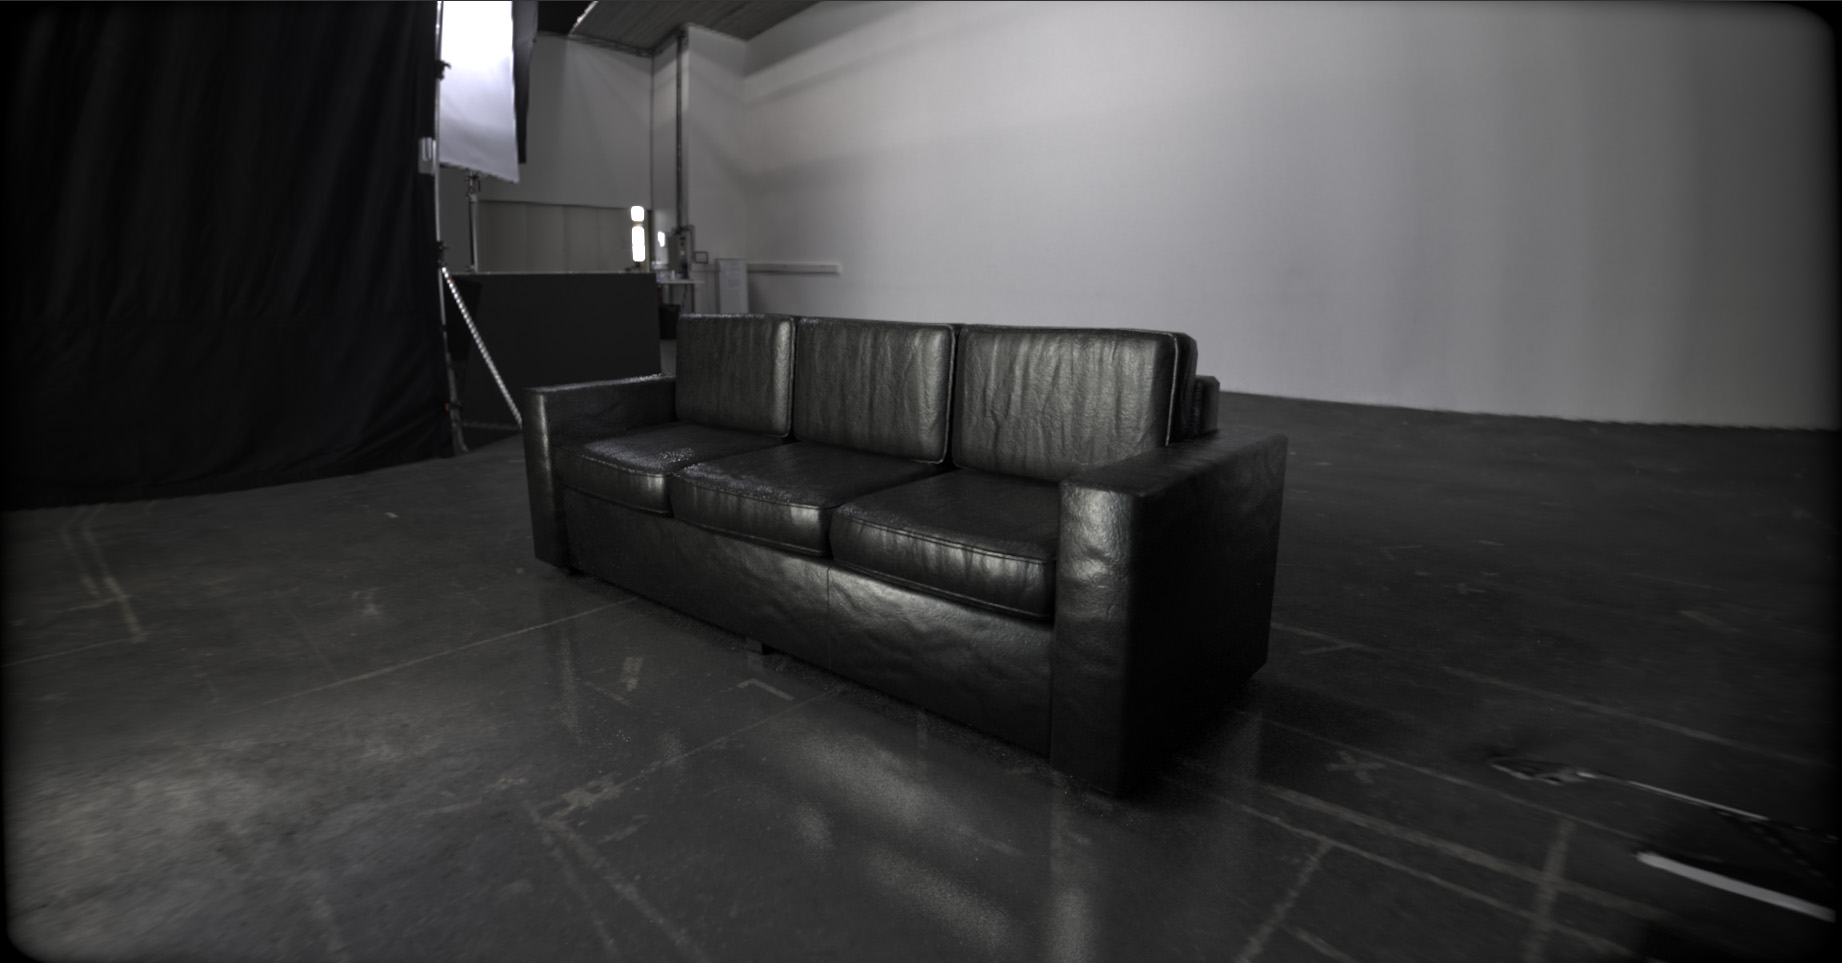
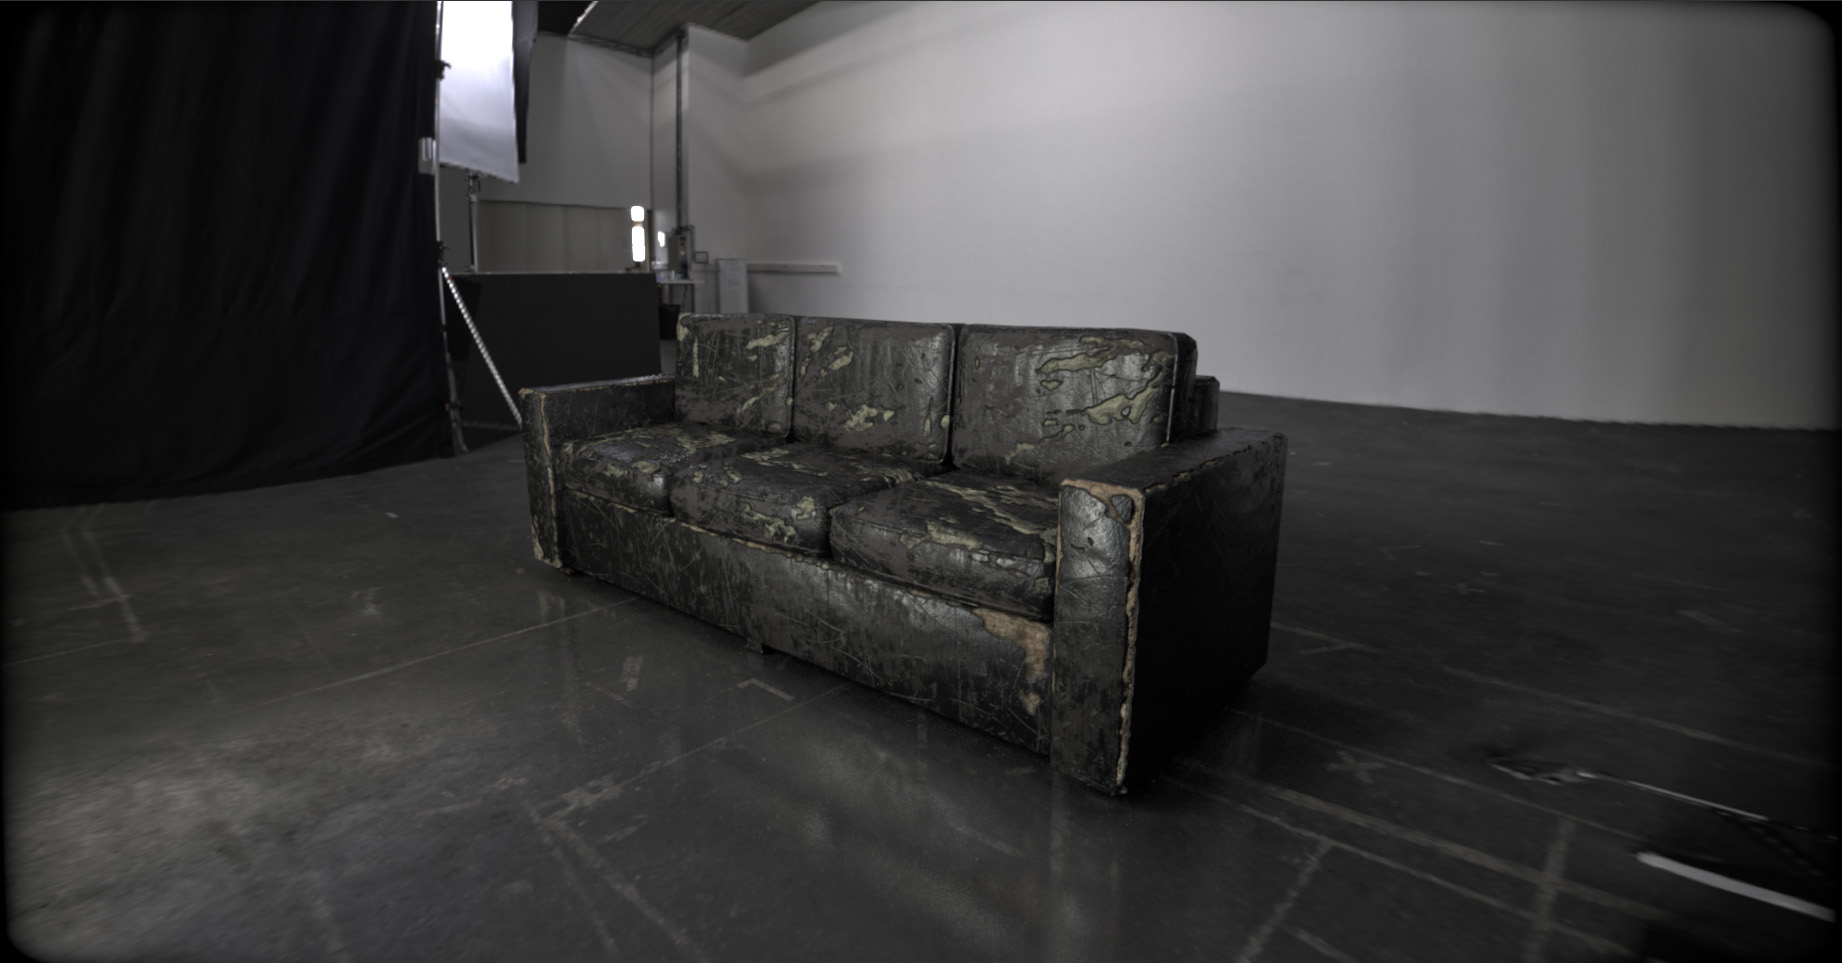
public void Bake(string name, int width, int height, Material mat)
{
    if (string.IsNullOrEmpty(name))
    {
        Debug.LogError("Enter a filename!");
        return;
    }
    rt = new RenderTexture(width, height, 0);
    Graphics.Blit(mat.mainTexture, rt, mat); //add -1 as a parameter to bake multiple passe

    texture = new Texture2D(rt.width, rt.height, TextureFormat.RGB24, false);
    texture.ReadPixels(new Rect(0, 0, rt.width, rt.height), 0, 0)

    byte[] bytes = texture.EncodeToPNG()

    string texturePath = $"Assets/Baked/{name}.png";
    File.WriteAllBytes(texturePath, bytes);
    AssetDatabase.ImportAsset(texturePath)

    // Dispose all allocated objects
    RenderTexture.active = null;
    DestroyImmediate(texture);
    DestroyImmediate(rt);
}}
//lightingShader.setFloat("light.constant",  1.0f);
//lightingShader.setFloat("light.linear",    0.09f);
//lightingShader.setFloat("light.quadratic", 0.032f);
float distance    = length(light.position - FragPos);
float attenuation = 1.0 / (light.constant + light.linear * distance +
                    light.quadratic * (distance * distance));
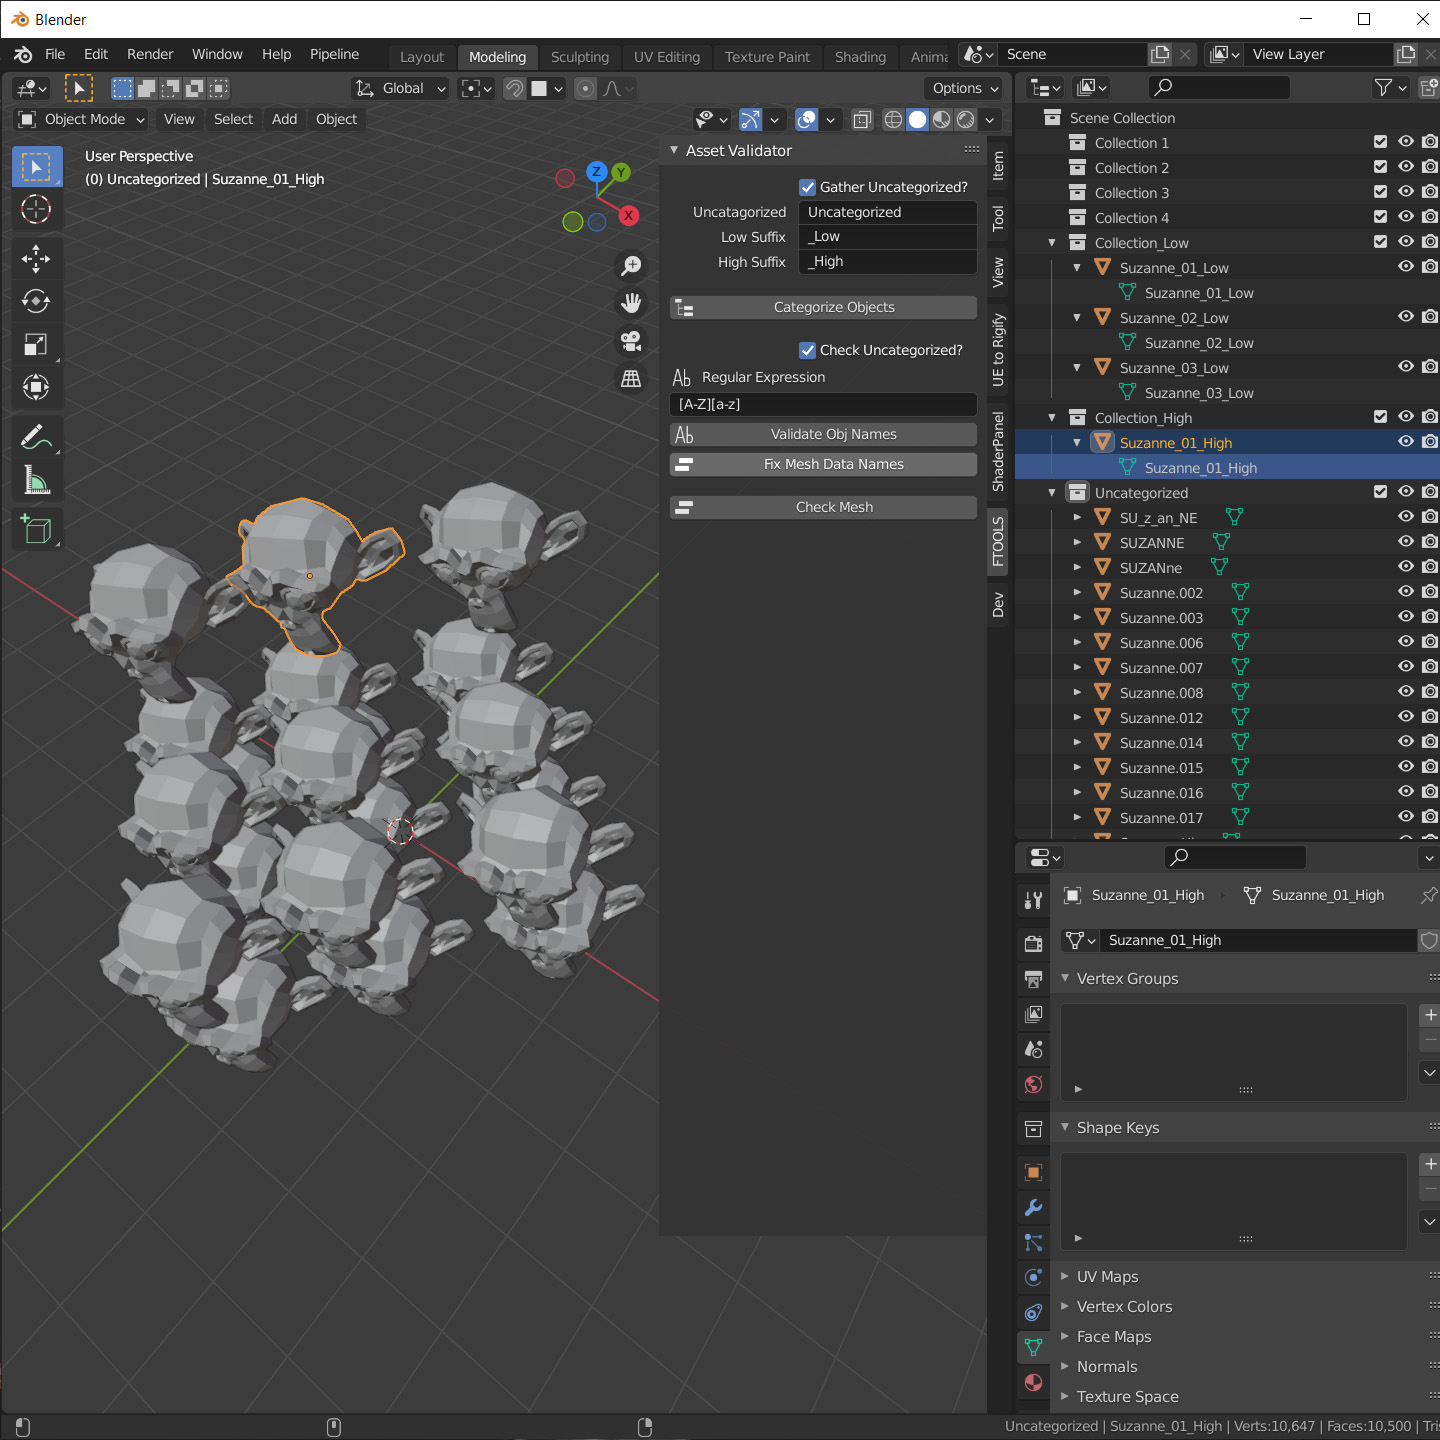
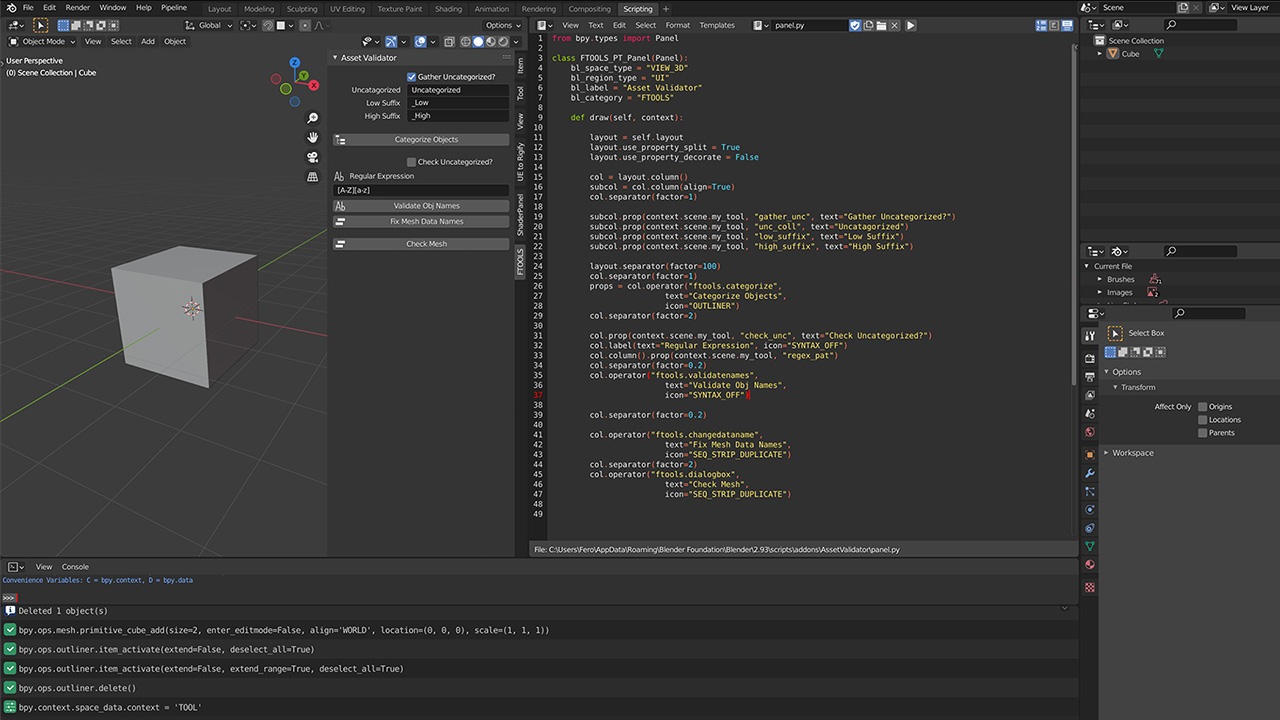
from .panel import FTOOLS_PT_Panel
from .categorize import FTOOLS_OT_Categorize
from .properties import CustomProperties
...toRegister = (
FTOOLS_PT_Panel,
FTOOLS_OT_Categorize,
CustomProperties,
...
)def register():
for cls in toRegister:
bpy.utils.register_class(cls)
bpy.types.Scene.ftools = bpy.props.PointerProperty(type=CustomProperties)
def unregister():
del bpy.types.Scene.ftools
for cls in toRegister:
bpy.utils.unregister_class(cls)


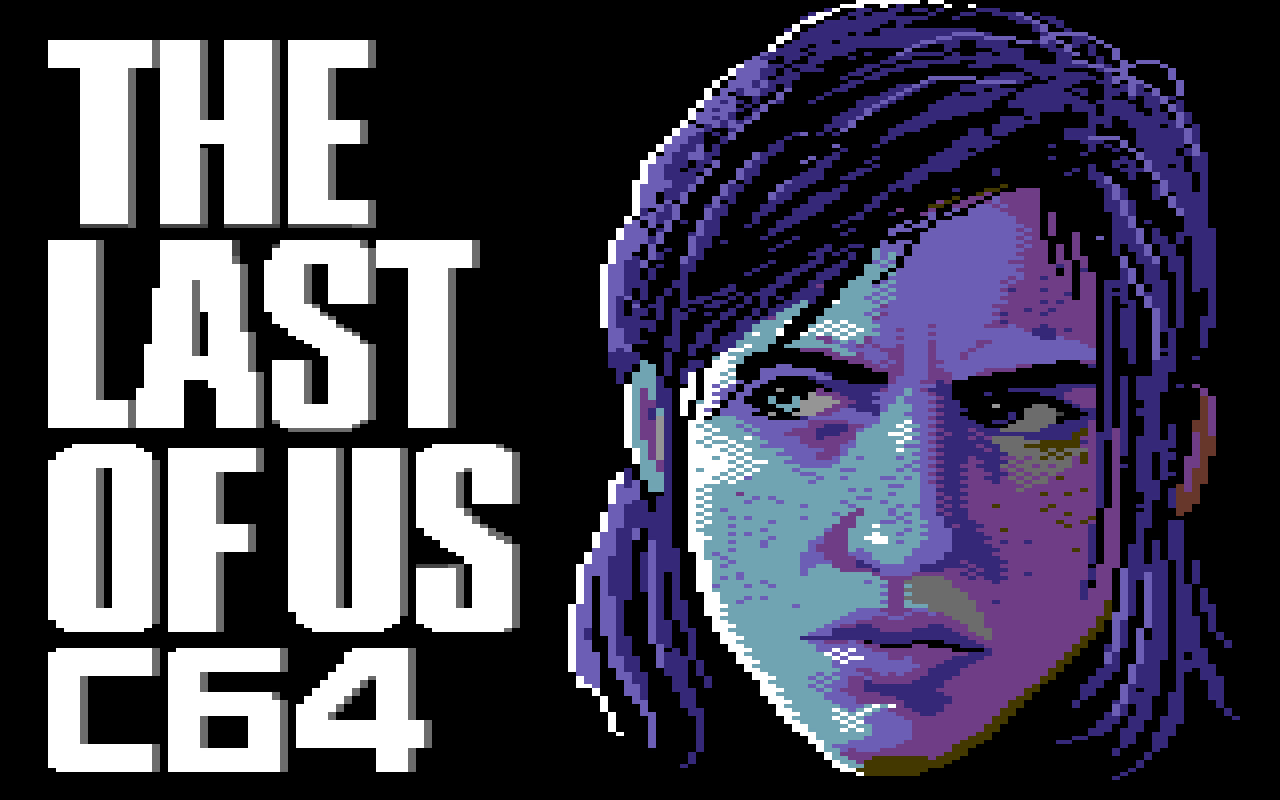
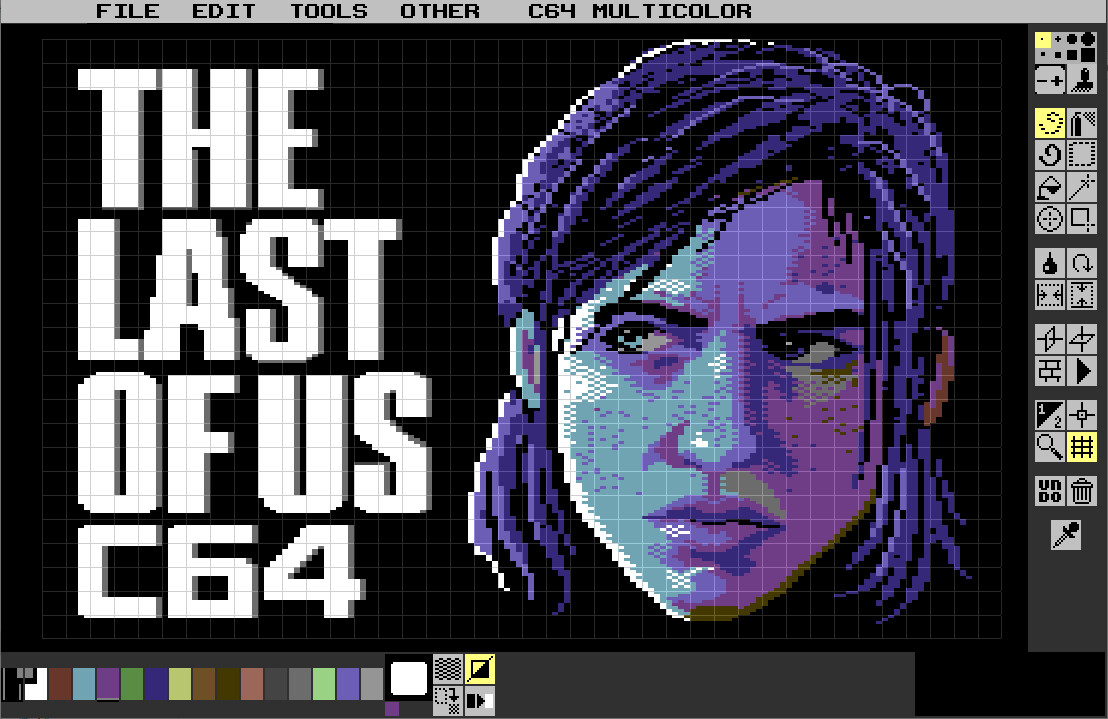


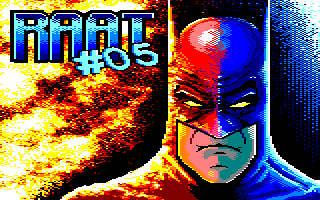
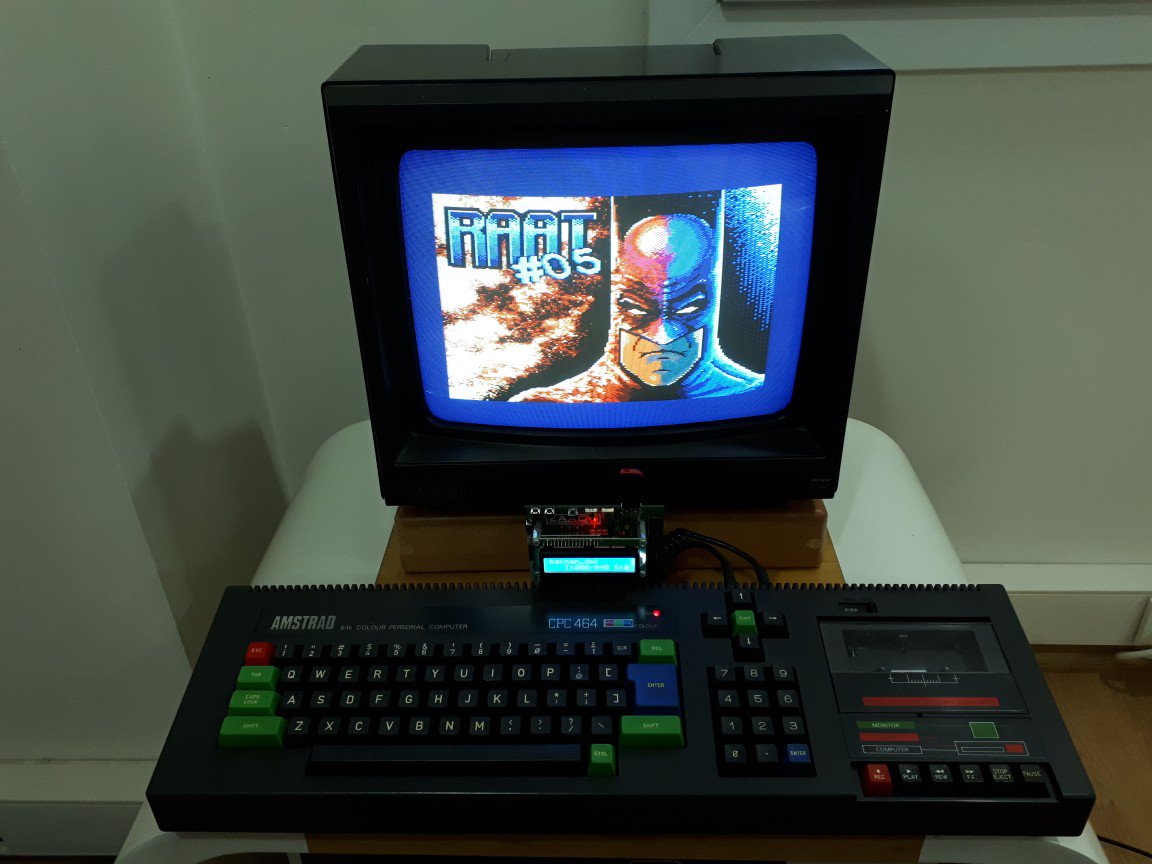
My story with computer graphics goes back to the mid-90s. I started painting and coding sprites on 8-bit computers like Amstrad CPC464 and Commodore 64. In my opinion, dealing with this ancient hardware made me a guy who understands the concept really well.
During my years of experience working as a freelance 3D generalist, I naturally evolved into a technical artist, because I was the one who cared about the math that artists won't and about the art that programmers can't. XD
If there is something worth knowing related to my profession or interests, I have to know it. Even if it means reading pages of scientific papers written with a notation that I'm not familiar with, it doesn't matter. Bring it on!
I may have been enlightened by a little part of it and it would be a win. Also, there is this saying that could be the motto of my life: 'Keep your curiosity sharp, and you will never become too old to appreciate life'.
In my experience, the most effective way to have a better understanding about something is teaching it to someone else.
Fortunately, I had the opportunity to teach my profession to other people by doing workshops and providing professional mentorship and I really enjoyed them all!
Problem solving is the most important role of a technical artist in game development. For me, solving a problem is a game in itself. I enjoy it as much as playing a game.
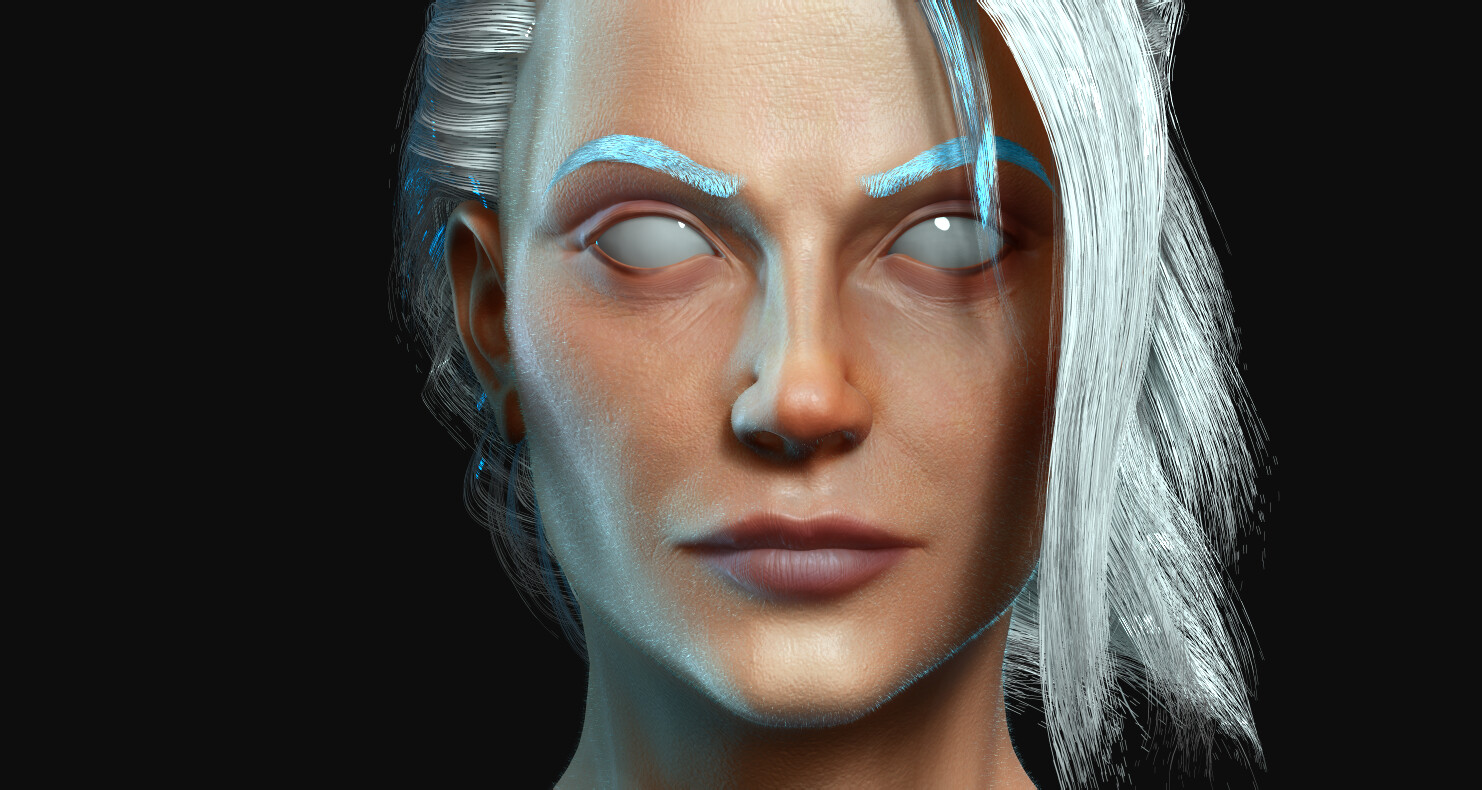
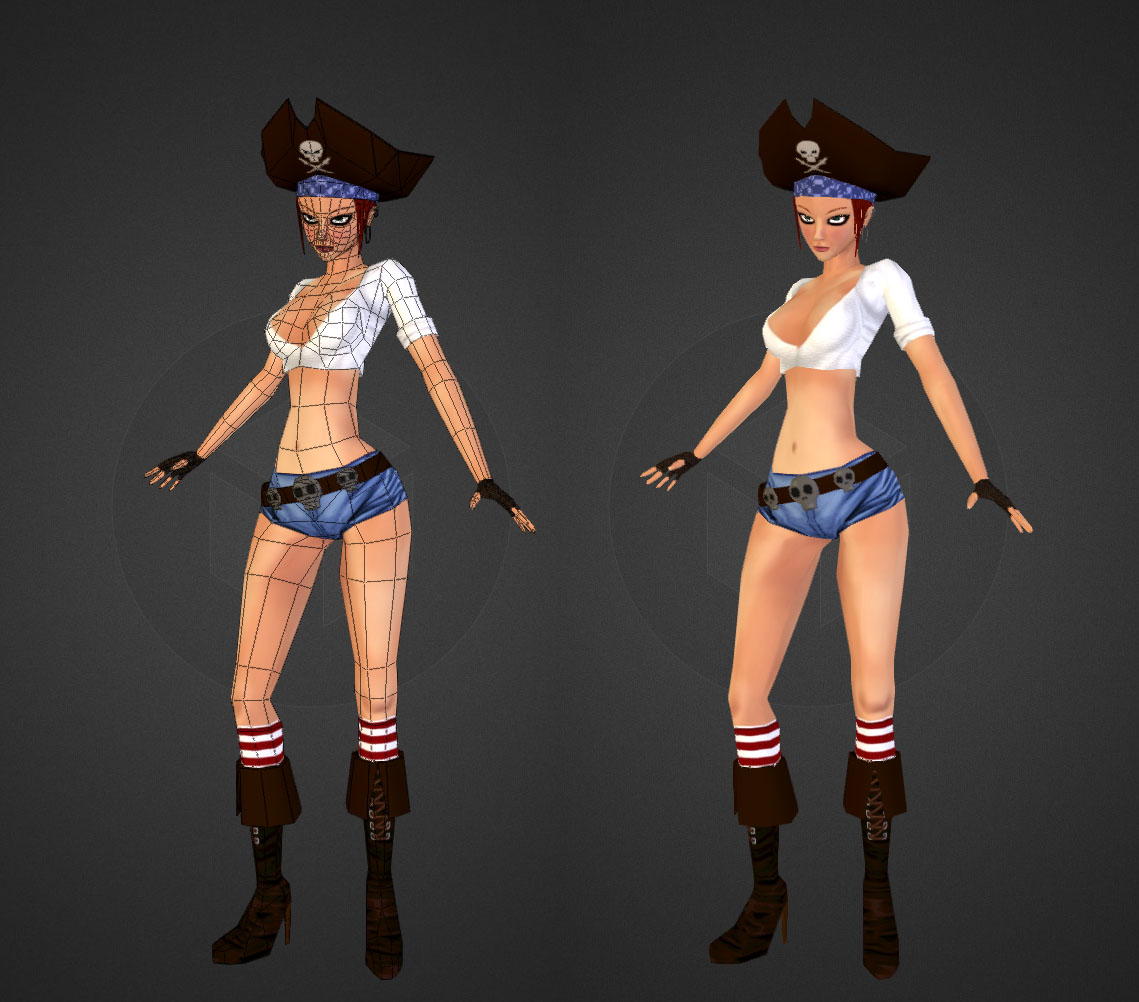
Because I have been on the artistic side of the process for years, one of my strengths is having an artist's eye for colors, values, forms and proportions, which has been improved in time by sculpting, modeling, texture painting and lighting.
I may not be a great tools programmer, but when I make tools, at least their UI looks good ;).
Especially in the problem-solving part of my work, there are always different ways to achieve the same goal. Hearing different ideas and looking from different perspectives is always illuminating, and I am always pleased to have it light my way to solve a problem.
In my opinion, having a fair and respectful attitude towards people's ways of living, beliefs, and practices is a minimum requirement to be a decent human. Being open to more makes us better.